
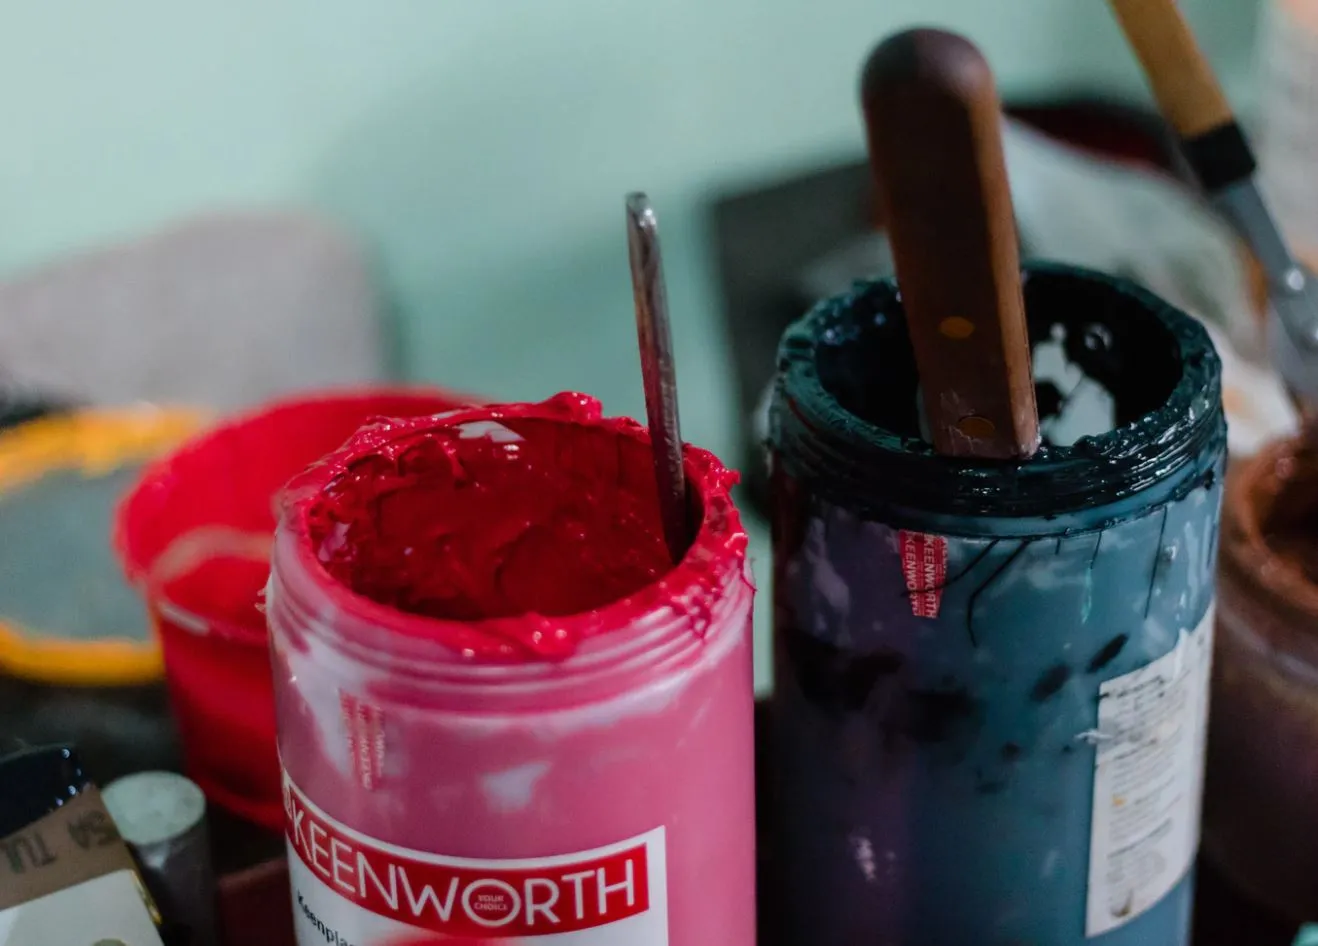
Screen printing—also called silk screen printing—is a stencil process that pushes ink through selected open areas of mesh onto a substrate. On a custom bag, the substrate may be a cut fabric panel or an accessible surface of a partly or fully assembled item.
Direct answer: Screen printing for custom bags uses a separate artwork separation and prepared mesh screen for each spot colour. Ink is pressed through the open stencil with a squeegee, then dried or cured according to the ink-and-material system. A successful result depends on the actual fabric, coating, panel shape, artwork detail, registration, colour approval, curing and production controls—not simply on choosing “screen print” in an RFQ.
Is “silk screen printing” the same as “screen printing”?
The two terms are commonly used for the same printing family. “Silk screen” reflects the historical use of silk mesh. Modern commercial screens commonly use synthetic mesh, while specialized applications may use other materials.
For sourcing, the name matters less than the controlled process:
- selected bag material and colour;
- mesh and stencil appropriate to the artwork and ink;
- ink system compatible with the substrate and required use;
- number of colours and registration sequence;
- placement and whether printing happens before or after sewing;
- curing or drying conditions;
- approved physical result and acceptance criteria.
How screen printing works
| Stage | What happens | What the buyer should control |
|---|---|---|
| Artwork review | The supplier checks vector paths, colour areas, line detail, dimensions and placement | Approved source file, version, logo rights, print size and named colours |
| Colour separation | Multi-colour artwork is divided into printable layers | Which elements belong to each spot colour and whether trapping or an underbase is proposed |
| Screen preparation | Mesh is tensioned, coated and exposed so selected areas remain open | Screen approach suitable for detail, ink deposit and substrate |
| Setup and registration | The material and each screen are positioned | Datum points, orientation and tolerance relative to panel edges, seams and pockets |
| Ink application | A squeegee moves ink across the screen and through the open stencil | Ink compatibility, coverage, print sequence and appearance |
| Flashing, drying or curing | The print is stabilized according to the ink system | Conditions suitable for the actual material, coating and construction |
| Inspection | Colour, position, coverage, registration and defects are reviewed | Approved strike-off, measurable criteria and inspection plan |
The precise workflow varies by ink, equipment, artwork, material and production sequence. A process description is not a performance guarantee.
Why each spot colour usually needs its own screen
A screen controls where one ink layer passes to the substrate. Multi-colour artwork therefore normally requires separate colour separations and screens, followed by controlled registration so the layers align.
More colours can affect:
- artwork preparation and number of screens;
- setup and registration time;
- risk at fine boundaries and overlapping areas;
- ink sequence and drying between colours;
- surface feel and ink build;
- material or panel distortion during repeated handling;
- sampling, inspection and commercial assumptions.
This does not mean every multi-colour print is unsuitable. It means the artwork and substrate should be reviewed before price, MOQ or appearance is confirmed.
Artwork requirements for bag screen printing
Supply the cleanest available original artwork rather than an image copied from a website or screenshot.
The artwork package should identify:
- editable vector file where available;
- approved logo or graphic version;
- finished print width and height;
- spot-colour names or references;
- positive and reversed versions if needed;
- minimum required lines, gaps and text;
- orientation and exact panel placement;
- whether the background fabric should show through;
- permission to use all supplied trademarks and artwork.
Raster artwork may require rebuilding or separation work. Fine gradients, shadows and photographic detail may need halftones, simplification or a different decoration method. Do not assume that a high pixel count makes artwork production-ready.
Fabric and surface factors
Screen printing behaves differently across bag materials.
| Substrate factor | Possible effect on the print | Review action |
|---|---|---|
| Fabric colour | Dark or strong colours may influence opacity and visual colour | Evaluate an underbase or suitable ink system on the selected colour |
| Texture and weave | Ink can bridge high points or leave uneven coverage in recesses | Print a representative strike-off and define acceptable appearance |
| Absorbency | Ink may penetrate or spread differently | Check edge definition, coverage and curing on the production material |
| Coating or surface treatment | May reduce adhesion or react to ink and curing | Confirm compatibility and test the selected finish |
| Stretch | Print can crack, distort or change when the panel moves | Review ink flexibility and the expected strain |
| Heat sensitivity | Curing conditions may affect fabric, foam or coating | Match process conditions to the material system |
| Contamination or finish variation | Oils, release agents or inconsistent treatment may change adhesion | Control material source, handling and incoming condition |
“Polyester,” “nylon,” “canvas” or “non-woven” is not a complete printing specification. Fibre composition, construction, weight, finish, coating, colour and supplier can all matter.
Print on a cut panel or on the finished bag?
Printing a flat cut panel often provides better access and more consistent positioning. It can also keep screens and curing equipment away from bulky seams, zippers, foam and hardware.
Printing after assembly may be considered when the design requires alignment to the finished form or when the surface remains flat and accessible. It can be more constrained by:
- pockets, seams, piping and zipper tracks;
- padding and uneven thickness;
- handles, straps and hardware;
- internal panels that interfere with support;
- heat-sensitive components;
- limited room for the screen, platen or squeegee movement.
Decide the sequence before pattern and placement approval. A flat print location can shift visually after the panel is folded, gusseted, bound or sewn.
Control print placement
“Centered on the front” is rarely enough for repeatable production. Define placement from named reference points, such as:
- finished panel edge;
- cut-panel datum;
- centreline;
- zipper, pocket or seam line;
- top edge after binding or folding;
- visible area after the bag is packed.
Record the logo size, orientation and placement measurements in the specification. Where panels can stretch or distort, state the sample condition and measuring method.
Colour matching on the real material
Digital artwork is viewed with emitted light; printed ink is viewed on a physical surface. A screen colour, a paper swatch and ink on textured fabric will not necessarily appear identical.
Colour can be influenced by:
- substrate colour and texture;
- ink opacity and film thickness;
- underbase colour;
- absorption and coating;
- print sequence;
- drying or curing;
- lighting and viewing angle;
- production variation.
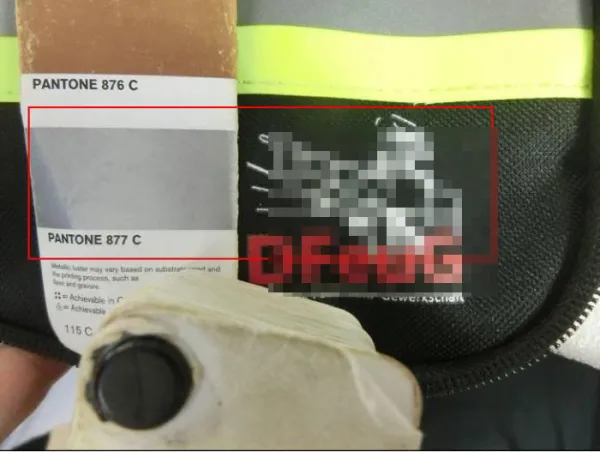
Provide a named colour reference and approve a physical strike-off on the selected material. Define whether the reference is a target for visual comparison or is tied to an agreed instrumental method and tolerance.
What is a print strike-off?
A strike-off is a physical print trial used to review the proposed artwork, colour, material and process before broader production approval. The project should state which inputs the strike-off represents.
Check:
- artwork version and print dimensions;
- selected fabric, colour, coating and supplier;
- ink colour, opacity and surface appearance;
- line, gap, text and edge definition;
- registration between colours;
- placement and orientation;
- feel, flexibility and any show-through;
- curing, adhesion or other project-defined checks;
- changes required before approval.
Photographs can speed discussion, but a physical sample or controlled colour evaluation may be needed where appearance is critical.
Common screen-printing defects
| Observation | Possible contributors | Control direction |
|---|---|---|
| Misregistration | Screen alignment, material movement or panel positioning | Improve registration references and setup control |
| Pinholes or missing coverage | Mesh/stencil condition, surface texture, contamination or ink deposit | Inspect screen and substrate; review ink and print parameters |
| Blurred or spread edges | Excess ink, pressure, off-contact, absorbency or movement | Review process setup and substrate interaction |
| Uneven opacity | Fabric texture/colour, ink deposit or repeated passes | Approve expected coverage on the production material |
| Smudging or set-off | Handling before adequate drying or curing | Control transfer, stacking and process timing |
| Cracking or poor flexibility | Ink/substrate mismatch, film build or expected strain | Review compatible system and representative flex exposure |
| Poor adhesion | Coating, contamination, ink mismatch or curing | Confirm compatibility and controlled cure; test as specified |
| Scorching, distortion or finish change | Excessive heat or unsuitable process conditions | Match curing to the full material system |
These are diagnostic starting points, not universal root causes. Investigate the actual material, screen, ink, equipment and process record.
Screen printing quality-control plan
Define the checks that matter for the project rather than using “good print quality” as the only requirement.
Possible controls include:
- verify artwork revision, colour separations and buyer authorization;
- confirm the material, colour, coating and panel revision;
- approve a strike-off or first-off sample;
- check size and placement from defined datums;
- compare colour under agreed viewing conditions;
- review registration, coverage, edges, pinholes, contamination and damage;
- confirm curing or drying using the agreed process and project tests;
- inspect the print again after relevant sewing or handling;
- record nonconformities, disposition and approved corrections;
- retain controlled references for repeat orders.
Inspection method, sampling plan, tolerance and acceptance criteria must be agreed for the specific order.
Screen printing versus other logo methods
Screen printing can be suitable for clear shapes and controlled spot colours on a printable surface. Heat transfer may support detailed or multi-colour graphics where the material tolerates heat and pressure. Embroidery creates a raised thread finish but can add weight and distort lighter panels.
There is no universal best method. Use the dedicated screen printing vs heat transfer vs embroidery guide to compare artwork, substrate, surface, placement and sample needs.
RFQ checklist for a screen-printed bag
Send Benshine:
- bag style or product brief;
- artwork files and confirmation of usage rights;
- final print dimensions and location;
- number of spot colours and named colour references;
- selected fabric, colour, coating and construction direction;
- desired surface appearance and feel;
- print sequence constraints relative to sewing;
- performance, care and destination-market requirements;
- strike-off and approval expectations;
- quantity by design, colour and variant;
- packaging and delivery information.
Benshine can review screen printing as part of a controlled custom bag project. Ink system, colour match, material compatibility, achievable detail, placement, testing, MOQ, price and timing require project-specific confirmation.
Continue your branding research
- Compare screen printing, heat transfer and embroidery
- Review custom tote bag references
- Explore promotional bag formats
- See the custom bag manufacturing workflow
- Plan product-specific quality controls
- Send Benshine artwork and a controlled product brief
Quick answers
What is screen printing on a custom bag?
Screen printing transfers ink through open areas of a prepared mesh stencil onto a bag panel or suitable finished surface. Each spot colour normally uses its own separation and screen, and the selected ink, fabric, placement and curing conditions must work together.
Is silk screen printing different from screen printing?
The terms are commonly used for the same stencil-printing process. Historically screens could use silk mesh, while modern production commonly uses synthetic mesh. The project specification should focus on the actual screen, ink, substrate and process rather than the name.
Can screen printing reproduce a full-colour photograph on a bag?
Some multi-colour and halftone work may be possible, but suitability depends on artwork separation, fabric texture and colour, registration, ink system, print area and expected appearance. Detailed photographic artwork may be better evaluated alongside transfer or other methods.
Can any bag fabric be screen printed?
No. Fibre type, weave or knit, coating, stretch, texture, colour, surface treatment and heat sensitivity can affect ink adhesion, coverage and curing. Use the selected production material for a representative print trial.
Why can a printed colour look different from the artwork?
Screens emit light while ink is viewed on a physical substrate. Fabric colour, texture, absorbency, coating, underbase, ink film, lighting and curing can change the visual result. Approve a physical strike-off with a named colour reference and viewing conditions.
Should screen printing be completed before a bag is sewn?
Often a flat cut panel gives better access and registration, but the correct sequence depends on design, placement, panel distortion risk and production workflow. The print location must be controlled against seams, folds, pockets and final assembly.