
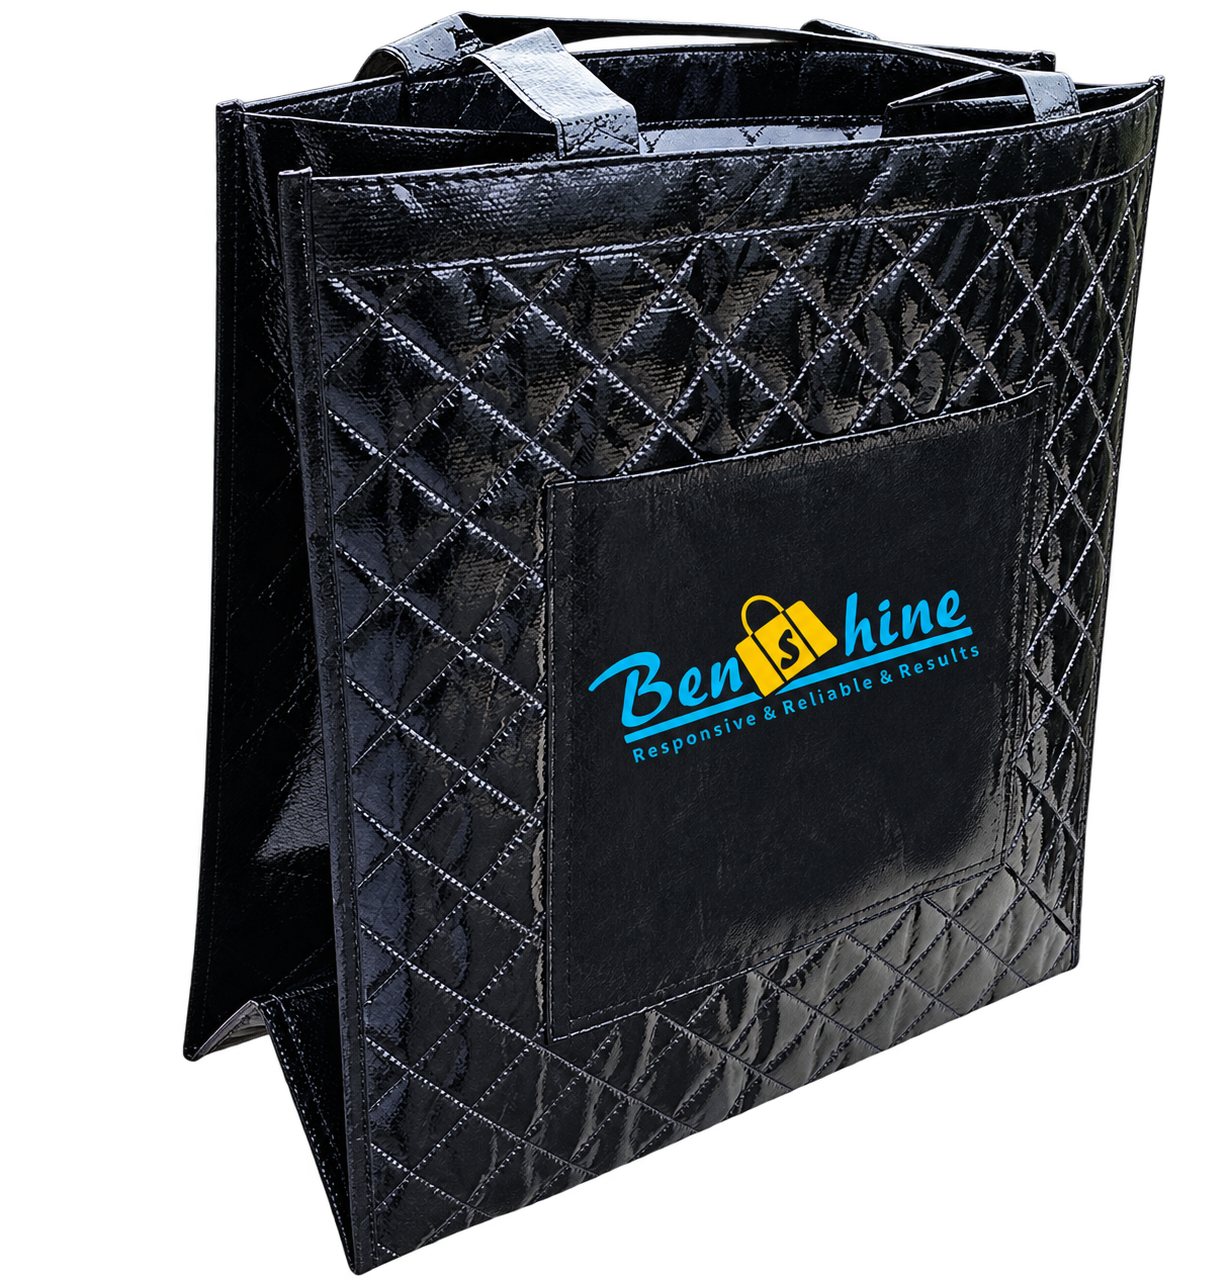
A bag pattern converts a product concept into controlled cut parts and assembly information. It is more than an outline: a useful pattern identifies parts, cut quantities, seam and fold lines, allowances, notches, orientation and the relationships between panels that must join correctly.
Direct answer: Start with the intended user, contents and finished dimensions. Separate finished measurements from cutting dimensions, then define every panel, gusset, pocket, seam allowance, fold, notch and material direction. Prototype the complete layer build, measure the assembled sample and revise all affected mating parts together. A deeper gusset or larger pattern piece does not by itself guarantee usable capacity, fit or performance.
From product brief to production pattern
| Development level | Main question | Controlled output |
|---|---|---|
| Use brief | Who uses the bag, for what and with which contents? | Item list, representative load, access and exposure requirements |
| Concept drawing | What should the bag look like and how should it operate? | Front, back, side, top, bottom and interior views |
| Dimension plan | What finished geometry must be checked? | Measurement points, nominal values and agreed tolerances |
| Pattern set | Which pieces must be cut and how do they join? | Part outlines, allowances, marks, quantities and orientation |
| Construction specification | How are layers, seams, edges and components assembled? | Operation notes, section details and component relationships |
| Prototype | Does the design work in the selected materials? | Physical sample, measurement and use-review record |
| Approved production reference | Which exact revision controls the order? | Frozen documents, bill of materials and signed sample status |
Keep these outputs linked by revision. Updating only a sketch while leaving the pattern, material list or sample record unchanged creates conflicting instructions.
Finished dimensions are not cutting dimensions
Finished width, height and depth describe the assembled bag under a stated measurement condition. Pattern dimensions may also account for:
- seam allowance outside the intended stitch line;
- hems, turnbacks and folded channels;
- binding, piping or zipper installation;
- darts, pleats, box corners and shaping seams;
- foam, board, lining and reinforcement thickness;
- material stretch, recovery or process behaviour where relevant;
- the need for one part to match a curved, gathered or folded mating edge.
A 300 mm finished panel is not automatically cut at 300 mm. The correct pattern depends on construction and where the finished measurement starts and ends.
For soft bags, state whether dimensions are taken empty, filled, flattened, suspended or supported. The same sample can measure differently if its shape is not controlled.
What belongs in a bag pattern set?
A controlled pattern piece can include:
- project, style and part name or code;
- revision number and date;
- material or layer reference;
- cut quantity and whether pairs are mirrored;
- cutting line, seam line and fold line where applicable;
- seam-allowance value or edge-specific allowances;
- notches, drill points and alignment marks;
- grain, warp, stretch, print or nap direction;
- placement marks for pockets, straps, hardware and decoration;
- reference dimensions and scale control;
- special edge treatment or assembly note;
- relationship to mating parts.
Not every factory uses identical symbols. The approved legend should define marks so a notch, fold, placement point or drill point cannot be confused.
Grain, stretch, nap and print direction
Pattern orientation can change appearance, yield and behaviour. Consider:
- warp and weft direction of woven material;
- greatest stretch direction of mesh or elastic material;
- pile, nap or surface direction;
- one-way prints, stripes, checks and logos;
- coating face and reverse side;
- visible texture or gloss direction;
- component orientation relative to expected load.
Rotating a piece to improve nesting may be unacceptable if it changes stretch, appearance or directional behaviour. Mark allowed rotations and mirroring explicitly.
Notches and alignment marks
Notches and other reference marks help position mating parts during assembly. They may identify:
- centre lines;
- quarter points on a curved gusset;
- pocket or strap locations;
- zipper start and stop positions;
- fold points;
- left/right or top/bottom orientation;
- the point where one material or operation changes.
More marks are not automatically better. Marks should be necessary, readable and compatible with the selected material and cutting method; they should not create visible damage or unintended weak points.
Gusset types and what they change
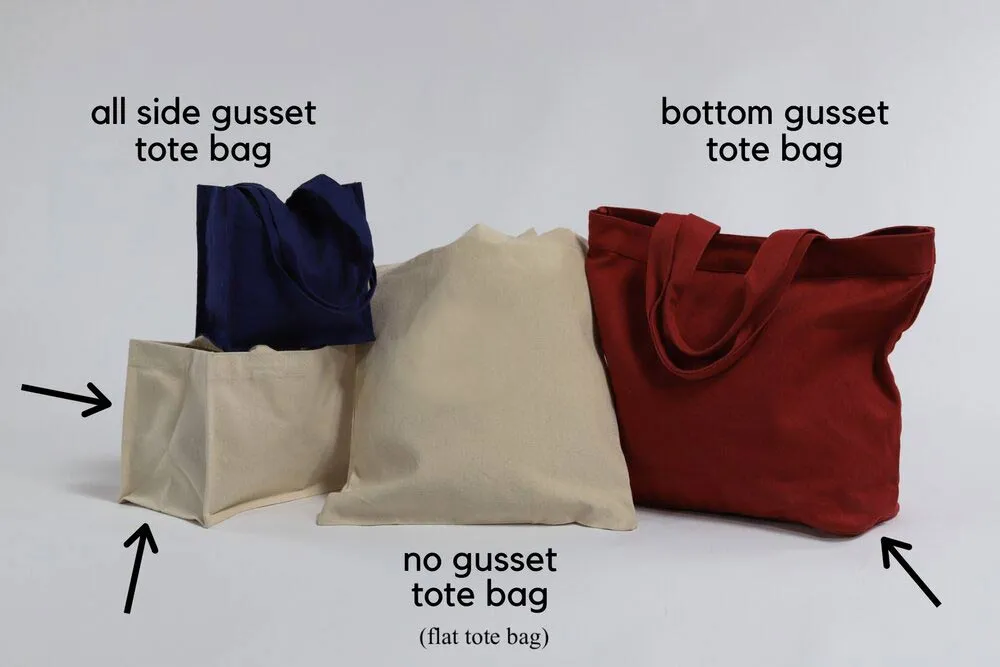
A gusset creates or controls depth. Its geometry affects silhouette, assembly, opening behaviour and potential internal volume.
| Gusset construction | Typical pattern direction | Product-development questions |
|---|---|---|
| Separate side gussets | One panel at each side | Parallel or tapered, top opening relationship, base join |
| Separate bottom gusset | Base panel joined to body pieces | Flatness, corner transition, support layers, seam location |
| Continuous gusset | Long strip around two or more edges | Mating lengths, joins, centre marks, curve feeding |
| Folded bottom gusset | Depth formed by folds in a larger body piece | Fold location, closed/expanded state, corner control |
| Boxed corners | Corners sewn or folded to create a base | Finished depth, seam direction, symmetry, internal finish |
| Bellows gusset | Folded construction designed to expand | Closed thickness, expansion range, restraints, closure |
Gusset depth is not usable capacity
Simple external dimensions can suggest geometric volume, but they do not describe the space a user can actually access. Usable capacity can be reduced or reshaped by:
- tapered sides or curved top panels;
- a narrow zipper opening;
- thick foam, board or insulation;
- suspended linings and internal seam allowances;
- dividers, sleeves and organizer panels;
- pockets projecting into the main compartment;
- hardware, seams and corner radii;
- the size, rigidity and orientation of the intended contents.
If capacity matters, define the contents or an agreed capacity method and evaluate a representative finished sample. Do not derive a marketing litre claim from external dimensions without a controlled basis.
Curves, corners and matching seam lengths
A gusset or pocket edge must mate with the panel to which it is sewn. Matching straight distances is simple; curves, easing, gathers and layer thickness make the relationship more complex.
Pattern development should consider:
- the seam-line length rather than only the cutting edge;
- inside versus outside curves;
- notch positions for progressive alignment;
- corner radius and the ability of the material stack to turn;
- zipper tape, piping or binding added into the same seam;
- whether one part is intentionally eased or gathered;
- visible puckering or distortion limits;
- operation sequence and machine access.
Tightening a corner radius may change appearance but can also increase sewing difficulty and bulk. Review the physical sample rather than judging the flat pattern alone.
Pocket construction types
| Pocket type | How it is formed | Key controls |
|---|---|---|
| Patch pocket | Separate piece attached onto a panel | Finished dimensions, top finish, corner shape, attachment |
| Slip pocket | Open-topped layer or section | Clear opening, usable depth, retention and item fit |
| Inset or welt-style pocket | Opening made within a panel | Opening reinforcement, pocket bag, zipper or welt geometry |
| Zipper pocket | Pocket closed by a zipper | Clear access, slider direction, pocket-bag depth, end treatment |
| Pleated pocket | Fold adds local expansion | Fold direction, closed and expanded state, restraint |
| Bellows pocket | Side and/or bottom gussets add volume | Gusset depth, corner build, closure and projection |
| Mesh pocket | Mesh forms all or part of the pocket | Stretch direction, edge finish, recovery and retention |
| Sleeve | Flat holding layer, sometimes padded | Item clearance, access, padding, bottom position and closure |
The named pocket type is a starting point. Specify intended contents and access. A phone, bottle, laptop, tool or medical item creates different dimensional, retention and protection questions.
Pocket pattern and placement checklist
For each pocket, control:
- finished width, height and depth;
- clear opening after seams, zipper stops or elastic gathering;
- item dimensions and insertion/removal path;
- flat, pleated, gusseted or elasticated state;
- material and stretch orientation;
- closure and hardware;
- lining or pocket-bag construction;
- distance from fixed seams or centre lines;
- reinforcement at opening ends or attachment points;
- interference with foam, binding, piping, straps or other pockets;
- logo relationship and visible symmetry;
- drain, airflow, cleanability or barrier requirements only when project-specific.
Mock up the actual item. A pocket can match a nominal width yet remain unusable because the opening, angle or surrounding structure blocks access.
Seam allowance, folds and edge finishes
The seam allowance is the material between the cut edge and intended seam line. One style may need different allowances at different edges because of:
- seam type and machine access;
- material fraying or edge stability;
- binding width and fold;
- piping or zipper insertion;
- layer thickness and turning;
- reinforcement or webbing caught into the seam;
- later trimming or topstitch operations;
- visible versus concealed construction.
Use an edge-specific pattern legend when one allowance does not apply everywhere. Confirm whether stated dimensions are to the cutting line, seam line or finished edge.
Layer bulk changes the pattern result
Flat pattern geometry is assembled in three dimensions. At one corner, the build may contain shell fabric, lining, foam, reinforcement, zipper tape, binding and folded seam allowances. That stack can affect:
- finished dimensions and corner shape;
- seam feeding and alignment;
- turning and topstitch appearance;
- zipper movement near curves;
- binding coverage;
- stiffness and opening behaviour;
- repeatability during assembly.
Reducing bulk may involve changing layer coverage, grading seam allowances, altering a radius or revising the operation sequence. Any change must retain the intended product function and approved appearance.
Cutting method follows the material and pattern
Pattern files may guide manual cutting, dies, blades, laser or other equipment, depending on material, volume, edge requirement and project feasibility. The presence of equipment does not mean every material should use the same method.
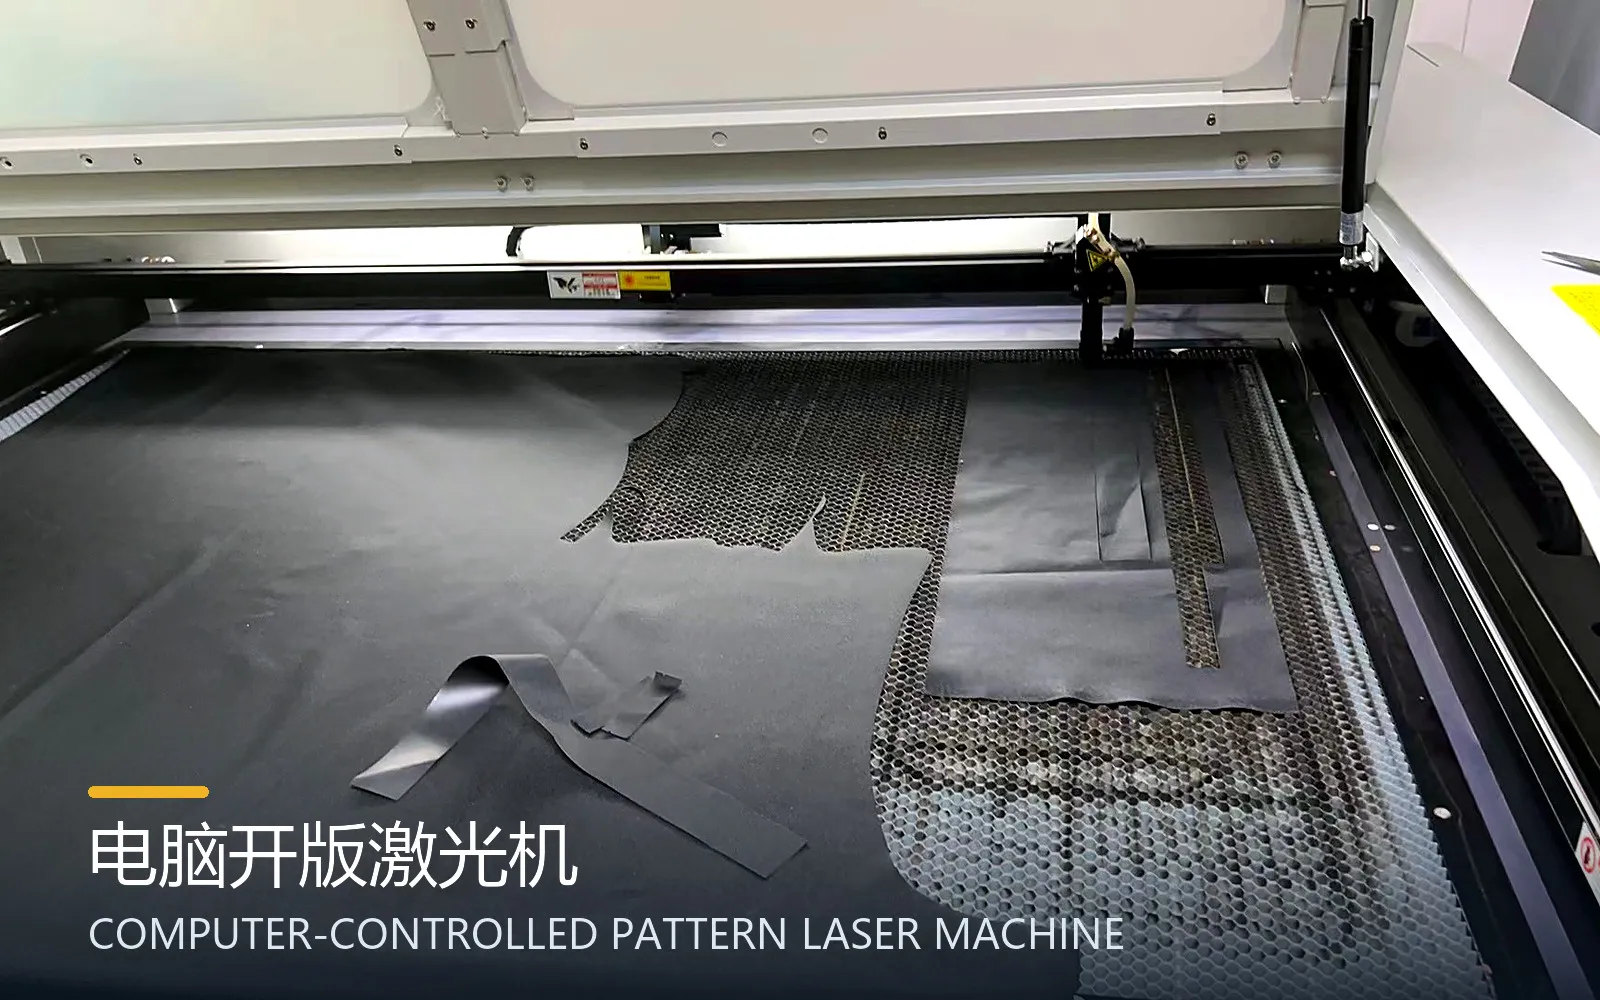
Before cutting, confirm material identity, face/reverse side, roll or lot, usable width, relaxation or conditioning needs, defects, directional restrictions and the approved marker. After cutting, part identity and bundle control help prevent mirrored, missing or mixed-revision pieces.
Tolerances must relate to the finished product
Pattern-file precision is not the same as finished-bag accuracy. Flexible materials and multi-step assembly can introduce variation. A practical tolerance plan should identify:
- critical fit or interface dimensions;
- overall finished dimensions;
- pocket, strap, hardware and logo placement;
- left/right symmetry where visible or functional;
- clear openings and adjustment ranges;
- the measurement method and sample condition;
- how material thickness or softness affects repeatability.
Avoid applying one arbitrary tolerance to every feature. A device sleeve, decorative topstitch and overall soft-bag height may need different control logic.
Prototype and pattern revision workflow
- Freeze the user, contents, access and representative load assumptions.
- Create concept views and a finished-dimension plan.
- Build the pattern set with part codes, orientation and construction marks.
- Confirm the selected shell, lining, support and component stack.
- Cut and assemble a development prototype.
- Measure the sample using the defined condition and reference points.
- Check contents, opening access, pocket fit and loaded behaviour.
- Review curves, corners, layer bulk and assembly sequence.
- Record every change and update all affected mating pieces.
- Produce the next sample from the new revision.
- Complete agreed appearance, dimensional and project-specific checks.
- Freeze the approved documents, bill of materials and sample revision.
Never modify an individual pattern piece without checking connected pieces. A deeper side gusset, for example, may affect the base, zipper panel, lining, binding length and pocket positions.
Pattern approval record
A buyer may not need every internal production pattern file, but the order controls should connect the approved product to:
- dated and revision-coded drawings;
- finished dimensions and measurement methods;
- visible construction and section details;
- pocket, strap, hardware and decoration placement;
- bill of materials and colour references;
- approved physical sample and change log;
- agreed tests, inspection points and packaging.
File ownership, release and transfer rights should be agreed in writing; the terms “OEM” or “ODM” do not determine them automatically.
RFQ checklist for pattern-led bag development
Send Benshine:
- intended bag type, user and use environment;
- named contents, item dimensions and representative load;
- finished dimensions with measurement state and critical tolerances;
- front, back, side, top, bottom and interior views;
- gusset direction, depth, taper and corner preference;
- pocket item map, clear openings, expansion and retention;
- shell, lining, foam, board and reinforcement directions;
- zipper, binding, piping, strap and hardware requirements;
- artwork, colour and directional-material constraints;
- existing pattern, sample or reference and its revision status;
- relevant performance and evidence requirements;
- quantity by colour and variant, packaging and destination.
Benshine can review a concept, marked reference or existing sample as the starting point for controlled development. Pattern ownership, feasibility, material choice, accuracy, performance, MOQ, price, sample timing and production timing require written project confirmation.
Continue your product-development research
- Use the bag anatomy and terminology glossary
- Compare bag stitch types and seam construction
- Specify zippers, buckles, webbing and hardware
- Choose a bag structure for intended use
- See how custom bags are made
- Review Benshine quality-control planning
- Send Benshine a controlled development brief
Quick answers
What is a bag pattern?
A bag pattern is the controlled set of shapes and construction information used to cut and assemble a bag. It can include seam allowances, folds, notches, reference marks, material orientation, quantities and part identification in addition to the cutting outline.
Are bag pattern dimensions the same as finished dimensions?
Not necessarily. A pattern may include seam allowances, folds, turnings, binding or piping relationships and compensation for material or layer thickness. Finished dimensions should be controlled separately with a stated measurement method.
Does increasing gusset depth always increase usable capacity?
It usually changes geometric volume, but usable capacity also depends on opening size, taper, lining, padding, dividers, pocket placement, corner shape and the dimensions of the intended contents. Validate the loaded sample rather than relying on depth alone.
Why are seam allowances important in a bag pattern?
Seam allowance is the material between the cut edge and the intended seam line. Its width and consistency affect assembly, edge finishing, finished dimensions and the amount of material available around curves, corners and multi-layer joins.
What information should a pocket pattern include?
Identify the pocket type, finished size, clear opening, expansion, fold and seam lines, edge finish, closure, material orientation, intended contents, location, reinforcement and relationship to lining or body panels.
How should a revised bag pattern be approved?
Link every revision to dated drawings, a bill of materials, construction notes and a physical sample. Review affected dimensions, mating parts, pocket access, layer bulk and loaded behaviour, then freeze the approved revision before production.