
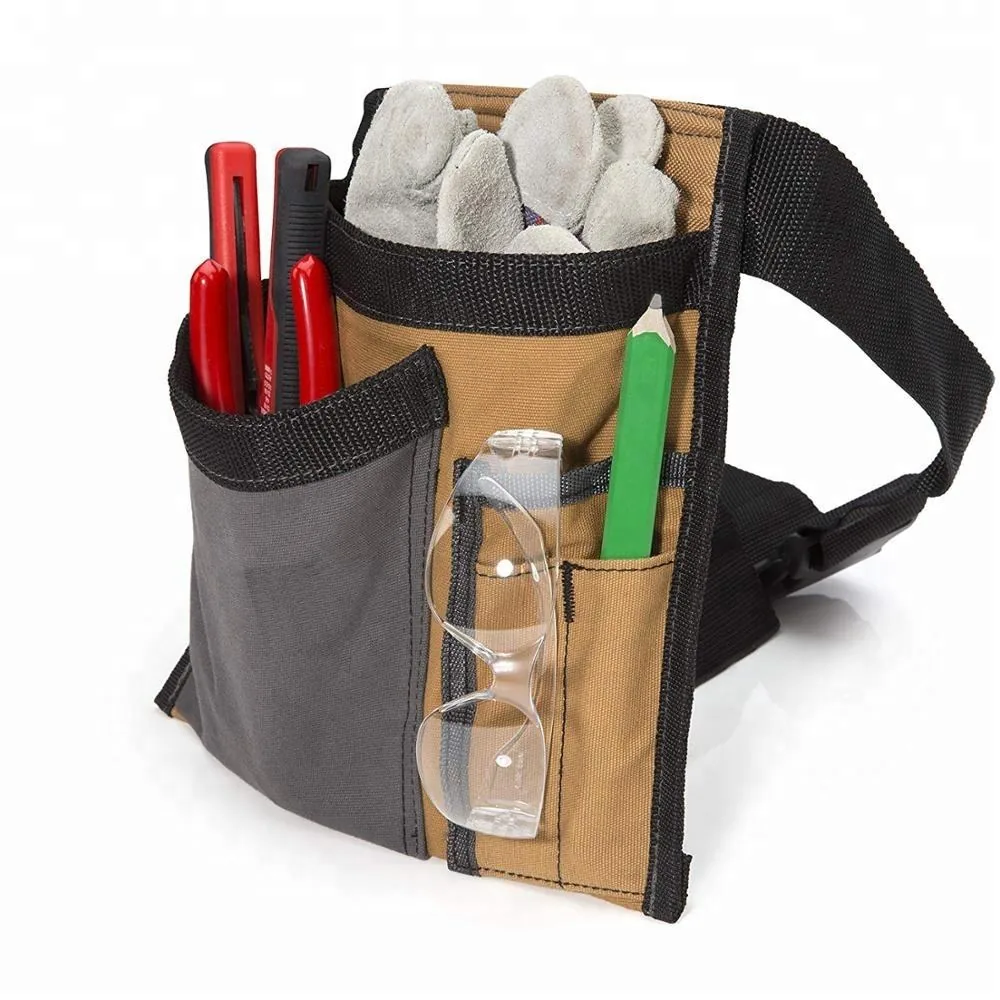
Bag stitching should be specified as part of a complete seam system, not as a decorative line or an isolated stitch count. The joined materials, seam geometry, allowance, reinforcement, thread, needle, stitch programme, density, operator access and load direction all influence the result.
Direct answer: Use lockstitch or another appropriate stitch together with a defined seam construction, material stack and reinforcement plan. Identify critical load paths, visible topstitching, seam allowance, thread and colour, needle direction, stitch-length range, backtack or end treatment, and acceptance criteria. Approve the actual assembly under representative use; extra rows of stitching, a bartack or a box-X pattern do not automatically guarantee strength or durability.
Stitch type and seam construction are different
A stitch is the way thread interloops or interlaces to form a line. A seam is the complete joint between material parts. One stitch type can be used in several seam constructions, and one bag can combine several systems.
| Specification layer | What it controls | Example questions |
|---|---|---|
| Materials | The parts being joined | Shell, lining, foam, webbing, reinforcement, coating |
| Seam geometry | How parts overlap or meet | Superimposed, lapped, turned, bound or edge finish |
| Stitch type | How thread forms the join | Lockstitch, chainstitch or programmed reinforcement direction |
| Thread and needle | Penetration and thread system | Size direction, fibre, colour, needle point and compatibility |
| Stitch density | Spacing of needle penetrations | Measured range, appearance and material response |
| Reinforcement | How load spreads beyond the seam | Backing patch, webbing continuation, bartack, box-X |
| Operation sequence | When and how the joint is accessible | Flat-panel operation, closed-bag access, turning and topstitching |
| Validation | Whether the assembled result meets the brief | Appearance, dimensions, operation, loaded or project-specific test |
This distinction prevents instructions such as “double stitch everything” from replacing a real construction specification.
Lockstitch
Lockstitch interlocks upper and lower threads within the material stack. Single-needle lockstitch is widely used for panel joining, zipper installation and topstitching because it can produce a controlled line on both faces.
Specify:
- the exact seam or edge location;
- seam allowance and guide reference;
- visible or concealed status;
- thread type, size direction and colour;
- stitch-length range and how it is measured;
- start/end treatment;
- whether backtacking is visible or concealed;
- acceptable tension balance and appearance;
- layer stack and reinforcement beneath the line.
Lockstitch does not correct a narrow allowance, weak base material, unsupported load point or unsuitable thread-and-needle combination.
Chainstitch and overedge directions
Some textile assemblies may use chainstitch or overedge/overlock directions for selected operations. Chain formations use looping threads and can have different extensibility, appearance and failure behaviour from lockstitch. Overedge constructions can control or finish a raw edge.
Do not specify these names without confirming:
- the exact stitch formation and number of threads;
- whether the line joins parts or only finishes an edge;
- the visible face and reverse appearance;
- stretch and recovery needs;
- start/end security;
- bulk, access and equipment compatibility;
- the required finished-product evidence.
Availability and suitability must be confirmed for the selected Benshine project rather than assumed from the general term.
Single-needle and double-needle stitching
Single-needle describes one stitch line made in an operation. Double-needle commonly describes two parallel lines created with paired needles and a controlled spacing.
Two rows may support a visual design, edge control or a particular construction direction, but they are not automatically twice as strong. Results depend on:
- distance between rows;
- distance from the material edge;
- whether both rows capture the same layers;
- straight versus curved access;
- thread tension and stitch consistency;
- material perforation and tear behaviour;
- load direction relative to the rows.
A second line positioned outside the reinforcement or too close to an unstable edge may add little useful control.
Topstitch, edge stitch and understitch
- Topstitching is visible stitching used near a seam, fold, edge or design feature.
- Edge stitching is placed close to a finished or folded edge.
- Understitching secures an internal allowance or facing so it tends to remain behind the visible edge.
Topstitching can influence appearance and help control layers, but it should not be described as reinforcement unless the construction and evidence support that function. Define distance from the finished edge or seam, thread colour, stitch length, straightness and acceptable start/end appearance.
Bartack reinforcement
A bartack is a dense, localized programmed or repeated stitch pattern. It is often considered where load or opening stress is concentrated, including selected:
- webbing and handle ends;
- shoulder-strap anchors;
- pocket-opening ends;
- zipper-opening ends;
- belt loops, keepers or tabs;
- drawcord or hardware attachment areas.
Control bartack length, width, orientation, stitch programme, position, thread, underlying layers and whether the ends extend beyond the load-bearing component. A dense bartack through unsupported shell material can concentrate stress rather than distribute it.
Box, box-X and programmed patterns
A box stitch outlines a rectangular attachment area. A box-X adds diagonal lines across it. Other programmed patterns can be used when the geometry, equipment and project justify them.
Review:
- webbing or component width;
- box length and width;
- edge distances;
- diagonal intersection and stitch direction;
- material and reinforcement beneath the pattern;
- thread and needle compatibility;
- the force direction and expected modes of use;
- visual requirements on both faces.
Pattern area and underlying reinforcement often matter as much as the recognizable X shape. The design must be validated as an assembly.
Common bag seam constructions
| Seam direction | General construction | Key decisions |
|---|---|---|
| Superimposed seam | Two or more parts placed together and sewn near an edge | Allowance, alignment, edge finish, turning direction |
| Lapped seam | One part overlaps another before stitching | Overlap, row position, visible edge, load direction |
| Turned seam | Raw allowances enclosed after the assembly is turned | Layer bulk, corner clipping, opening for turning, topstitch |
| Bound seam | Raw allowance covered with binding | Binding material/width, fold, coverage, corner treatment |
| Piped seam | Piping inserted between joined panels | Cord or insert, seam matching, corner radius, visible consistency |
| Folded or hemmed edge | Material turned to finish an opening or edge | Turn depth, number of folds, reinforcement, stitch location |
| Zipper seam | Zipper tape joined to panels or facing | Tape exposure, clear opening, end treatment, curve and topstitch |
The same exterior appearance can hide different internal constructions. Use section drawings or approved samples for critical seams.
Bound seams versus turned seams
A bound seam covers a raw internal edge with a separate strip. It can provide an intentional interior finish but adds material, operations and corner bulk. Control the binding’s material, width before and after folding, coverage, overlaps, starts/ends and stitch position.
A turned seam encloses allowances inside the product after turning. It can create a clean appearance but requires an assembly opening, manageable bulk and suitable access for final closing and topstitching.
Choose according to interior appearance, material behaviour, cleaning direction, structure, inspectability and production sequence—not from a universal quality hierarchy.
Thread is a component, not just a colour
A thread specification may need to address:
- fibre or thread family;
- size or ticket direction under an agreed system;
- colour and physical approval reference;
- finish or treatment where relevant;
- compatibility with material, needle and machine;
- visible sheen and contrast;
- relevant seam or exposure performance;
- supplier or substitution controls if required.
Thicker thread can change appearance and needle requirements, but does not automatically strengthen a seam. If the thread exceeds what the material or construction can support, failure may move into the fabric or perforated edge.
Needle selection and penetration
Needle size and point direction must suit the thread, material layers and machine. A needle that is too small can damage thread or create skipped stitches; an unnecessarily large needle can leave visible holes or affect coated and tightly woven materials.
Representative trials should look for:
- clean penetration without unacceptable surface damage;
- stable loop formation and balanced tension;
- absence of skipped stitches or thread shredding;
- acceptable hole appearance on visible and reverse faces;
- feeding through the thickest approved layer stack;
- repeatability at corners, overlaps and step changes.
Needle choice is an order-level process decision and should not be inferred from the face fabric name alone.
Stitch length and stitch density
Stitch length describes the distance between penetrations; stitch density may be expressed as stitches over a stated length. These are related but should not be mixed without a defined method.
Very short stitches create more needle holes in a given distance. On some coated, laminated, film-like or tightly woven materials, excessive perforation can affect appearance or local integrity. Longer stitches may suit some thicker stacks or visual directions, but can reduce control in other seams.
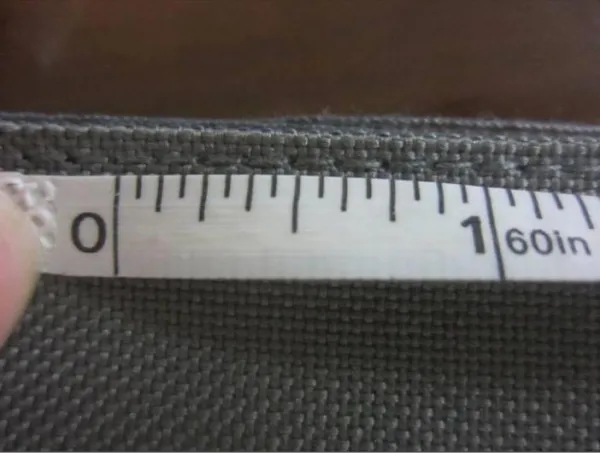
Avoid publishing one universal stitch length for all bag seams. Define critical locations and approve a range with the relevant materials, thread, needle, appearance and performance criteria.
Thread tension and seam balance
Tension should form the intended stitch without unacceptable loops, puckering, loose thread, exposed interlock or material distortion. A setting that looks balanced on two shell layers may change when sewing across webbing, foam, binding or folded reinforcement.
Inspect:
- both faces of the seam;
- transitions into thicker stacks;
- starts, ends and thread trimming;
- corners and curves;
- reverse-side appearance where visible;
- whether the material relaxes after sewing;
- zipper movement or panel shape near the seam.
Machine settings are process controls, while the approved seam appearance and performance are product controls.
Material and coating effects
Sewing interacts with the full material construction. Consider:
- fraying or edge instability;
- stretch, recovery or mesh distortion;
- coating cracking, marking or delamination direction;
- visible needle holes;
- surface scratching or presser-foot marks;
- heat sensitivity;
- foam compression and rebound;
- thick transitions and uneven feeding;
- colour contrast between thread and substrate.
Trial the actual colour and backing. A material in a different finish or coating can behave differently even when the nominal fabric label is the same.
Stitching and water protection
Ordinary sewing penetrates material. Denser stitching, multiple rows or a water-resistant face fabric do not by themselves make a seam waterproof.
Water ingress may depend on:
- fabric coating or lamination;
- needle-hole size and concentration;
- seam location and orientation;
- seam allowance and binding;
- zippers, openings and hardware attachments;
- any tape, welding or sealing process;
- flexing, wear and finished-product geometry.
Define the exposure—such as light splash, rain, water pressure or submersion—and the test method, duration, orientation and acceptance criteria. See the water-resistant, water-repellent and waterproof guide for claim boundaries.
Design stitching around load paths
Critical seams are determined by how force moves through the bag. Review:
- handles and their body anchors;
- shoulder straps and lower strap ends;
- detachable strap hooks and rings;
- base-to-body joins;
- compression or retention straps;
- pocket openings exposed to repeated pulling;
- zipper ends used to open a loaded compartment;
- internal dividers supporting equipment;
- trolley, bicycle or other mounting interfaces.
Reinforcement should spread load into suitable layers and geometry. Adding a dense stitch pattern without adequate backing or overlap may simply move the failure next to the stitches.
Common seam defects and review questions
| Observation | Possible contributors to investigate |
|---|---|
| Skipped stitches | Needle/thread/material mismatch, timing, layer transition or feeding |
| Loose loops | Tension, threading, needle, bobbin or material-stack change |
| Puckering | Tension, feed, stitch density, material instability or construction |
| Wavy topstitch | Guide control, feeding, material stretch, inconsistent allowance |
| Fraying near seam | Insufficient allowance, unstable edge, abrasion or unsuitable finish |
| Fabric tearing by stitches | Perforation concentration, weak substrate, load geometry or narrow margin |
| Broken thread | Thread damage, needle, tension, abrasion, seam load or edge interaction |
| Misaligned panels | Pattern marks, feeding, notches, operator sequence or cutting variation |
| Binding misses edge | Binding width/fold, corner bulk, feed, allowance or guide control |
| Zipper distortion | Tape feeding, curve, layer bulk, tension or topstitch sequence |
These are diagnostic prompts, not automatic root-cause conclusions. Confirm the cause through physical review and controlled trials.
Sample and seam approval workflow
- Map the user, contents, representative load and expected handling.
- Identify critical seams and attachment points on annotated views.
- Define each material and reinforcement layer.
- Select seam construction, stitch direction, thread, needle and density range.
- Trial the thickest and most difficult representative stacks.
- Produce a complete sample using the intended sequence.
- Check appearance, dimensions, access, zipper operation and loaded behaviour.
- Complete agreed seam, attachment or finished-product tests.
- Record approved construction details and sample revision.
- Define in-line and final inspection points for the actual order.
A material swatch seam may help process development but cannot replace review of curves, anchors, closed-bag access and complete load paths.
Order-specific stitching quality plan
For each critical location, record:
| Control | Example of what to define |
|---|---|
| Location | Handle anchor, main gusset, zipper end, pocket opening |
| Construction | Layer order, overlap, seam type and allowance |
| Stitching | Stitch type, rows, position and measurable density range |
| Reinforcement | Patch dimensions, webbing continuation, bartack or box-X programme |
| Appearance | Straightness, thread colour, puckering and visible starts/ends |
| Function | Opening, adjustment, zipper travel or retention check |
| Evidence | Approved sample, in-line check, finished-product method and record |
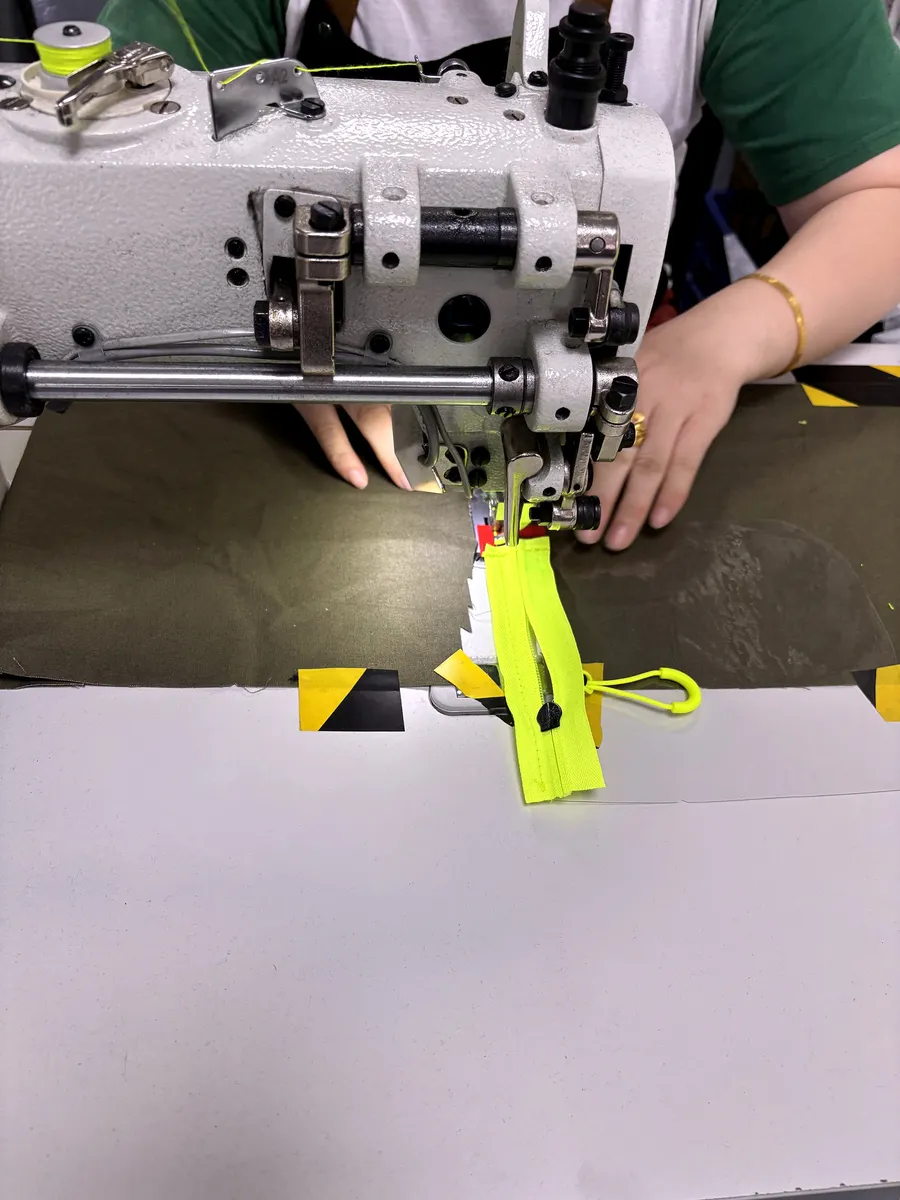
Benshine factory images show examples of sewing and inspection activity. The required checkpoints, sampling and acceptance criteria must be agreed for each order through the quality-control plan.
RFQ checklist for bag stitching and seams
Send Benshine:
- bag type, intended user, contents and representative load;
- annotated views marking critical seams and load paths;
- shell, lining, foam, reinforcement, webbing and binding layers;
- preferred seam and edge-finish directions;
- visible topstitch colour and appearance;
- bartack, box-X or other reinforcement locations;
- critical seam allowance, row position and density requirements;
- zipper, piping, binding and hardware relationships;
- water, abrasion, load, care or other relevant exposure requirements;
- test methods, evidence and acceptance criteria;
- quantity by colour and variant, packaging and destination;
- reference sample and approved or disliked construction details.
Benshine can review seam directions as part of a controlled custom-bag project. Construction feasibility, equipment route, strength, durability, water performance, MOQ, price, sample timing and production timing require confirmation against the selected materials, geometry and order.
Continue your construction research
- Use the bag anatomy and terminology glossary
- Understand bag patterns, gussets and pocket construction
- Specify zippers, buckles, webbing and hardware
- Choose a bag structure for intended use
- See how custom bags are made
- Review Benshine quality-control planning
- Send Benshine a controlled seam specification
Quick answers
What stitch type is commonly used to sew bags?
Lockstitch is widely used for many panel joins and visible topstitch lines, but a complete bag can use several stitch and seam constructions. The correct choice depends on material layers, edge finish, access, appearance, load path and the required evidence.
Is more stitching always stronger?
No. Strength depends on fabric, reinforcement, thread, needle, stitch type, stitch density, seam allowance, attachment geometry and load direction. Excessive needle penetration or a poorly designed layer stack can weaken some materials.
Where are bartacks commonly used on bags?
Bartacks are often considered at short, concentrated attachment areas such as webbing ends, handle anchors and selected pocket-opening ends. Their length, width, stitch programme, position and supporting layers must match the project.
Is a box-X stitch stronger than a bartack?
Neither pattern is universally stronger. They distribute stitches differently and are used over different attachment geometries. Compare the complete material stack, stitch programme and loading direction, then validate the representative assembly.
What stitch length should a bag use?
There is no universal bag stitch length. Material type, coating, thread, needle, layer thickness, seam function, appearance and equipment all matter. Approve a measurable project-specific range on the actual material stack.
Can normal sewn seams make a bag waterproof?
Ordinary stitching creates needle holes and does not by itself establish waterproofness. Water ingress also depends on fabric, coatings, seam location, binding, zippers, openings and any seam-sealing process. Define the exposure and test the finished construction.