
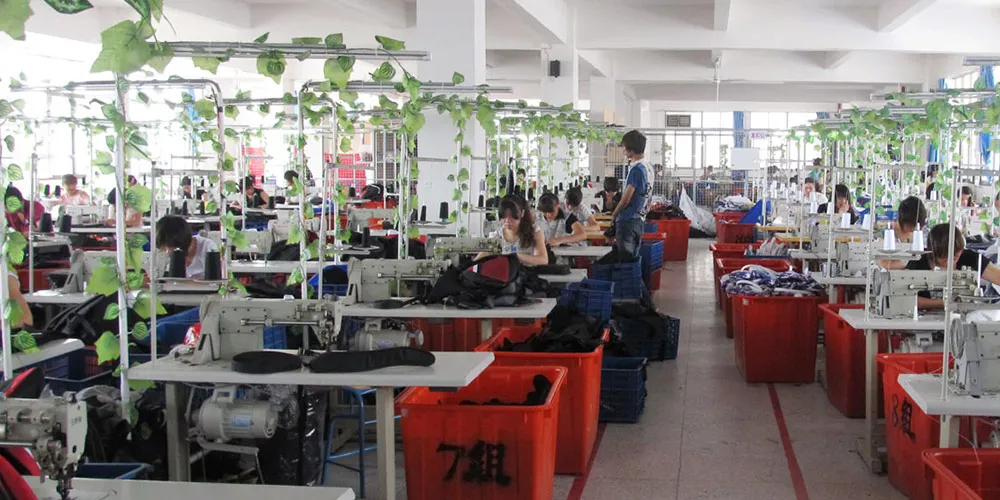
Custom bag manufacturing is a controlled sequence that converts intended use into an approved physical product. Sewing is only one stage. Decisions about contents, structure, materials, components, artwork, testing and packaging need to be resolved early enough that production is building one agreed revision.
Direct answer: Custom bags are made by defining the use and specification, engineering patterns and components, producing and approving a representative sample, preparing and cutting controlled materials, decorating flat panels where required, sewing subassemblies and the final bag, completing agreed inspections or tests, and packing to the approved method. The exact route, MOQ, cost and timing depend on the design, materials, components, evidence and order.
Custom bag manufacturing process at a glance
| Stage | Main output | Buyer decision or evidence |
|---|---|---|
| 1. Requirements | Intended-use and item brief | User, contents, load, environment and priorities |
| 2. Feasibility | Open-question and risk record | Structure, material, component and evidence assumptions |
| 3. Specification | Drawings, dimensions and construction notes | Controlled revision and acceptance requirements |
| 4. Pattern and BOM | Cut-part set and bill of materials | Part relationships, materials, colours and quantities |
| 5. Artwork and components | Approved visual and physical references | Logo, colour, finish and compatibility |
| 6. Sampling | Representative physical sample | Fit, access, function, appearance and change record |
| 7. Pre-production freeze | One approved production package | Sample/specification/BOM/test/packaging alignment |
| 8. Material preparation | Identified and prepared inputs | Incoming checks, lots, orientation and handling |
| 9. Cutting and flat-panel work | Controlled parts and decoration | Pattern revision, placement and first-piece review |
| 10. Sewing and assembly | Completed bag construction | Critical seams, anchors, closures and workmanship |
| 11. Inspection and testing | Order-specific quality records | Agreed methods, sampling and disposition |
| 12. Packing and release | Packed order | Labels, units, cartons, assortment and shipment terms |
The sequence can overlap, but approvals and dependencies should remain visible.
1. Define intended use and contents
A useful enquiry begins with the product’s job, not only a reference photo.
Record:
- target user and use scenario;
- exact contents, dimensions and representative total load;
- access frequency and sequence;
- carrying or mounting method;
- external size constraints and item-fit limits;
- environment, cleaning and storage conditions;
- branding, colour and visual priorities;
- destination market and required documents;
- estimated quantity by colour and variant;
- packaging and delivery terms;
- performance claims that require evidence.
This information helps Benshine distinguish a visual preference from a functional requirement.
2. Review feasibility and responsibility
The buyer and manufacturer should identify unresolved assumptions before quoting or sampling. Questions can include:
- Is the proposed opening large enough for the item?
- Can the selected material turn around the required corner?
- Does the logo process suit the substrate and placement?
- Are zipper, buckle and webbing directions compatible?
- Which layers support handles or shoulder straps?
- Is the desired colour available under the required evidence?
- Does the target claim need material, component or finished-product testing?
- Who supplies final artwork, labels, regulatory text and packaging data?
- Who owns patterns, tooling and custom component designs?
The terms OEM, ODM, private label or contract manufacturing do not settle every responsibility. Record the project-specific division of work. See the manufacturing-model guide.
3. Build a controlled product specification
A complete specification connects visible design with measurable and inspectable requirements. It can include:
- front, back, side, top, bottom and interior views;
- finished dimensions and measurement methods;
- pocket and compartment item map;
- opening, zipper and closure directions;
- shell, lining, foam, board and reinforcement layers;
- handles, straps, hardware and attachment geometry;
- seam, binding, piping and visible stitch details;
- colour standards and decoration placement;
- labels, warnings and target-market information;
- approved tests, inspection points and acceptance criteria;
- packaging, assortment and carton requirements;
- document owner, date and revision code.
Avoid mixing uncontrolled notes from several message threads. One current package should identify which information supersedes earlier versions.
4. Develop patterns and construction
Patterns translate finished geometry into cut shapes with seam allowances, folds, notches, orientation and placement marks. A change to one feature can affect several mating pieces.
Pattern development considers:
- material direction, stretch, print or surface orientation;
- seam and fold allowances;
- gusset and panel seam-line lengths;
- curves, corners and layer bulk;
- zipper, piping and binding relationships;
- pocket and strap placement;
- reinforcement coverage;
- decoration area before assembly;
- cut quantity, mirroring and part identity;
- assembly sequence and machine access.
Use the bag-pattern and gusset guide for a deeper review.
5. Create the bill of materials
The bill of materials, or BOM, identifies the inputs used to build the approved bag.
| Input group | Examples of fields to control |
|---|---|
| Shell and lining | Supplier/code, composition direction, construction, colour, backing, width |
| Support layers | Foam, board, interlining, reinforcement, thickness and coverage |
| Zippers | Chain direction, size, tape/element colour, slider, puller and length |
| Webbing and binding | Material, weave, width, thickness, colour and cut length |
| Hardware | Type, dimensions, material, finish, mating part and orientation |
| Decoration | Method, artwork revision, size, colours, position and physical approval |
| Labels | Content, material, dimensions, artwork and placement |
| Packaging | Unit packing, inserts, labels, assortment, carton and markings |
Stable codes and approved physical references help control repeat orders and substitutions.
6. Source and approve materials and components
Samples and quotations should use clearly identified inputs. Review material and component directions for:
- identity and supplier or source code;
- colour, texture, gloss and hand;
- thickness, weight or critical dimensions where relevant;
- coating, lamination or backing;
- zipper, buckle and webbing compatibility;
- print, transfer or embroidery suitability;
- required composition, chemical or performance documents;
- lot, shade and substitution controls;
- availability and order-specific minimums.
Material names such as 600D polyester, RPET, waterproof fabric or food-grade lining are not complete specifications or proof. Require the evidence appropriate to the claim and target market.
7. Prepare artwork and decoration trials
Artwork preparation can include:
- vector or production-ready files;
- final text and trademark authorization;
- physical colour references;
- size and orientation;
- distances from fixed seams or finished edges;
- print separations, embroidery data or transfer layers;
- substrate and coating compatibility;
- strike-off or representative panel trial;
- appearance and relevant adhesion or care checks.
Many decoration processes are completed while a panel is flat, before it is enclosed by seams or pockets. The sequence should account for seam allowances, cutting marks, distortion and later heat or handling. Review the bag-decoration comparison guide.
8. Produce and review samples
Sampling turns documents into a physical reference. Depending on project needs, a sample may explore shape, materials, artwork, colour, function or a near-production build.
Review:
- silhouette and finished dimensions;
- item fit and usable opening;
- pocket and compartment workflow;
- carrying modes and adjustment range;
- materials, colours and hand;
- zipper and hardware operation;
- seams, binding, piping and reinforcement;
- logo placement and appearance;
- loaded behaviour and relevant exposure;
- labels, packaging and outstanding evidence.
Write changes against a sample and document revision. “Same as last sample except…” is risky if the exception is not added to the controlled specification.
9. Freeze the pre-production package
Before bulk input is committed or cut, align:
- approved sample status;
- specification and drawing revision;
- pattern revision;
- BOM and approved component board;
- artwork and colour approvals;
- test and quality plan;
- labels and packaging;
- quantities and assortments;
- commercial and delivery terms;
- approved deviations or unresolved hold points.
An approval sample alone cannot show every hidden layer, tolerance, material code or test requirement. Documents and sample work together.
10. Receive and prepare materials
Order-specific incoming controls may review identity, quantity, dimensions, colour or shade, visible condition, component compatibility and required documents.
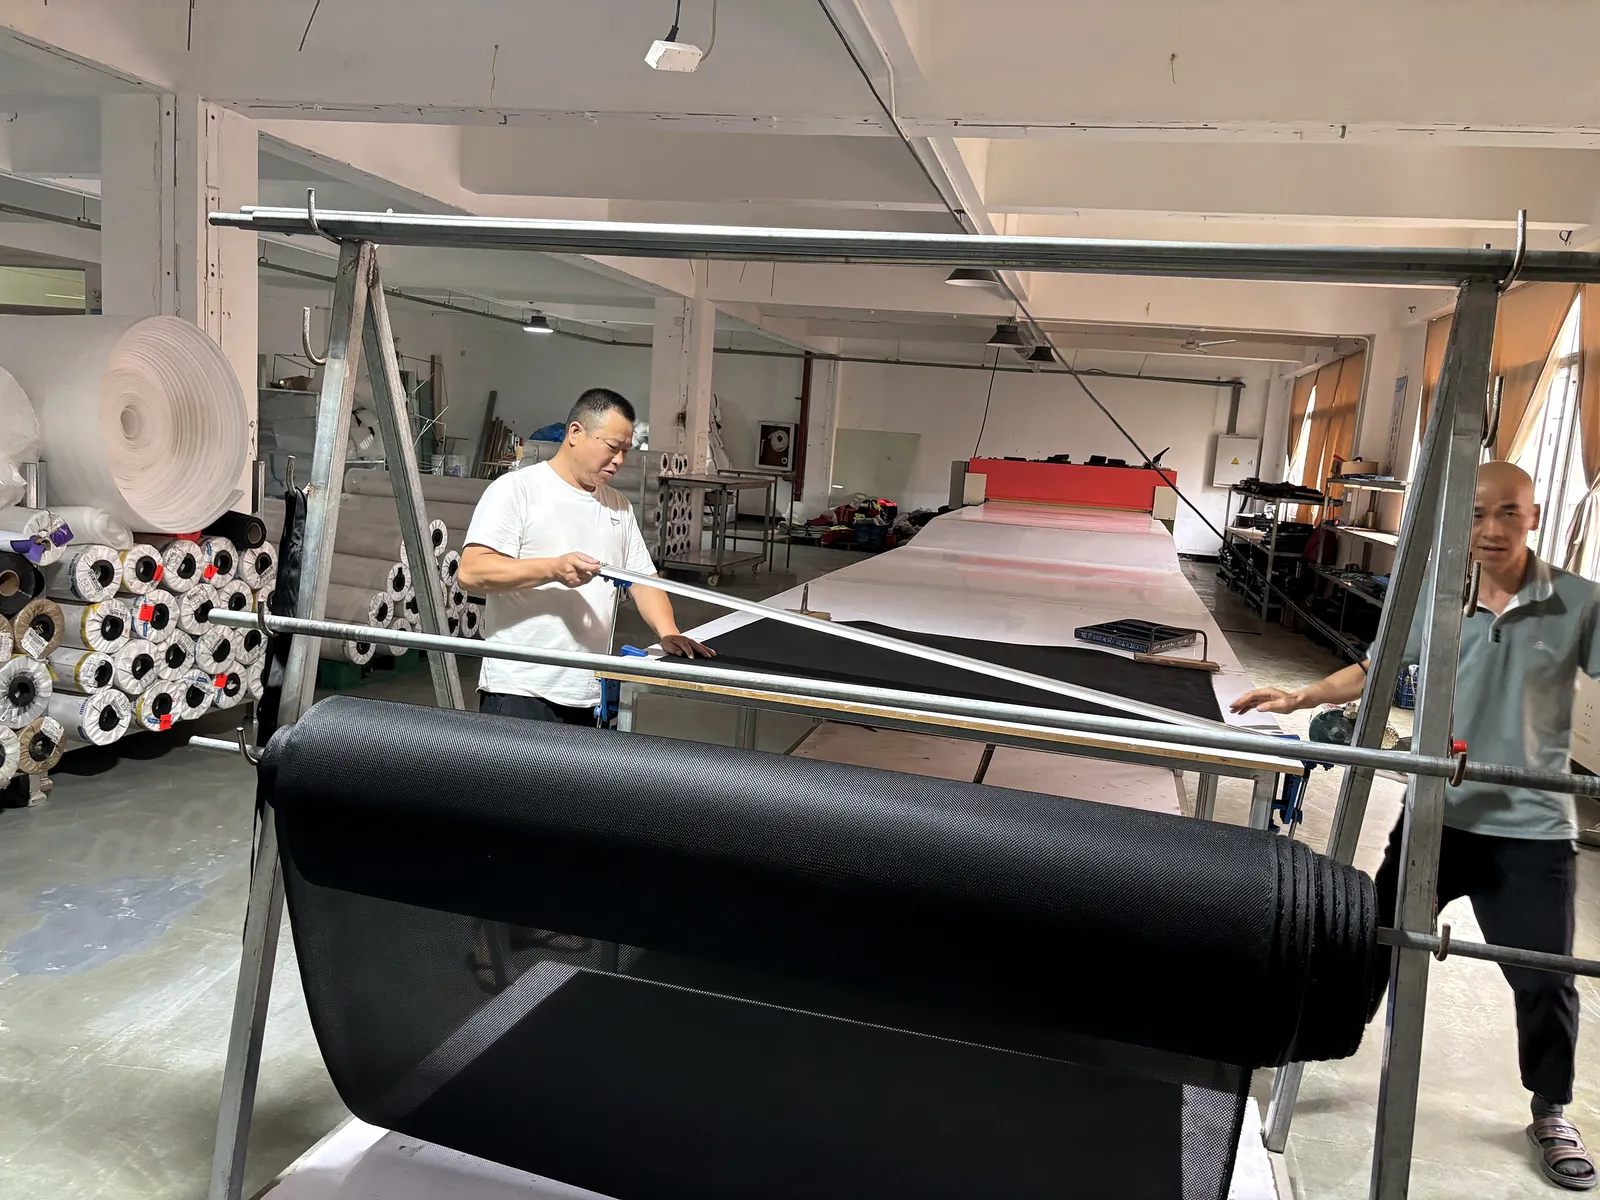
Fabric preparation can involve:
- roll or lot identification;
- face/reverse and direction confirmation;
- defect review and usable-width control;
- relaxation or conditioning where applicable;
- spreading direction and layer alignment;
- marker and pattern revision confirmation;
- separation of colours, lots or variants.
11. Cut and identify parts
Approved patterns guide manual, blade, die, laser or other cutting routes according to material and project feasibility. Cutting control can include:
- correct pattern and marker revision;
- material face, direction and allowed rotation;
- cut quantity and mirrored pairs;
- notches and placement marks;
- clean edges appropriate to the material;
- identification of part, size, colour and lot;
- bundle control to avoid mixed variants;
- review of critical dimensions or first cut pieces.
The availability of equipment does not mean one method suits every substrate or order.
12. Complete flat-panel preparation
Before panels are enclosed, selected pieces may receive:
- screen printing, heat transfer or embroidery;
- reinforcement patches;
- foam or interlining preparation;
- pocket components;
- zipper sections;
- labels or decorative trims;
- holes, eyelets or hardware preparation;
- folding, creasing or edge treatment.
First-piece review can confirm placement, orientation, colour, appearance and interaction with later seams.
13. Sew subassemblies
Complex bags are often built from smaller controlled units before final closing. Examples include:
- zipper panels and lids;
- front organizer panels;
- shoulder straps and pads;
- handles and webbing anchors;
- pockets and dividers;
- lined side or base panels;
- removable modules;
- buckle or hook strap assemblies.
Subassembly checkpoints can catch orientation, component and measurement issues while the work remains accessible.
14. Assemble the complete bag
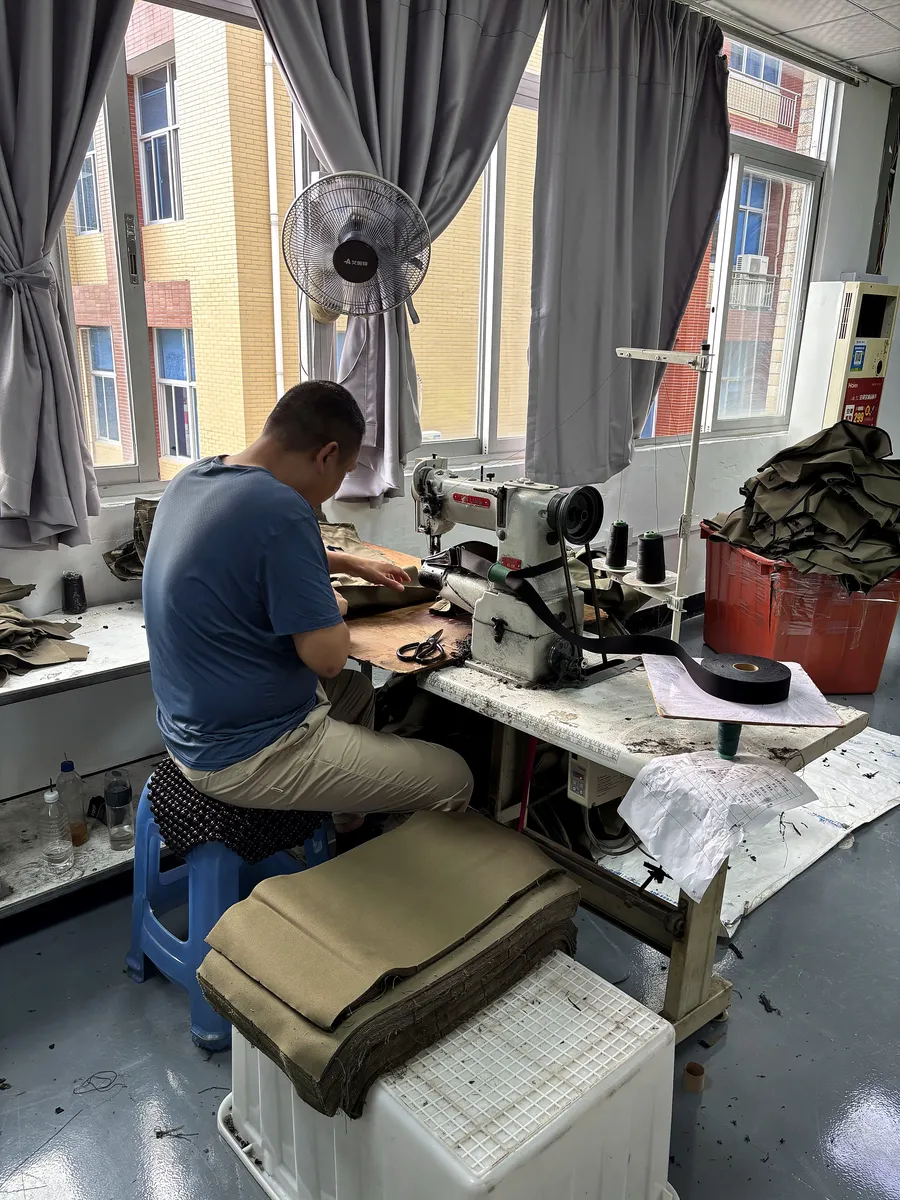
Final assembly joins panels and subassemblies in a defined sequence. Critical areas often include:
- gusset-to-panel matching;
- tight corners and curved zipper sections;
- handle and shoulder-strap anchors;
- multi-layer seam intersections;
- binding coverage and joins;
- lining alignment and closing seams;
- hardware orientation;
- final turning and topstitching;
- zipper ends and opening symmetry.
See the bag-stitch and seam guide for specification details.
15. Use in-line controls at critical operations
An in-line quality plan can target risks before the bag is complete. Depending on the order, checkpoints may include:
- correct materials and component codes;
- logo position and first-piece appearance;
- pocket, strap and hardware placement;
- seam allowance, stitch direction and reinforcement;
- zipper installation and operation;
- measurements that become hidden later;
- left/right orientation and symmetry;
- construction of load-bearing anchors;
- handling of approved deviations.
Inspection frequency and acceptance criteria must be defined for the specific order; no universal plan is implied.
16. Inspect finished bags
Final inspection can compare finished units with the approved package for:
| Review area | Examples |
|---|---|
| Identity | Style, colour, variant, labels and revision |
| Appearance | Shape, cleanliness, colour, decoration and visible workmanship |
| Dimensions | Agreed locations, sample condition and tolerances |
| Construction | Seams, binding, reinforcement, components and orientation |
| Function | Zippers, buckles, adjustment, pockets, openings and fit |
| Project tests | Agreed load, water, colourfastness or other controlled methods |
| Packing | Unit method, assortment, labels, carton and markings |
Visual inspection does not replace tests needed for performance or compliance claims. Test reports remain limited to their named sample, method, date, result and conclusion.
17. Pack and release the order
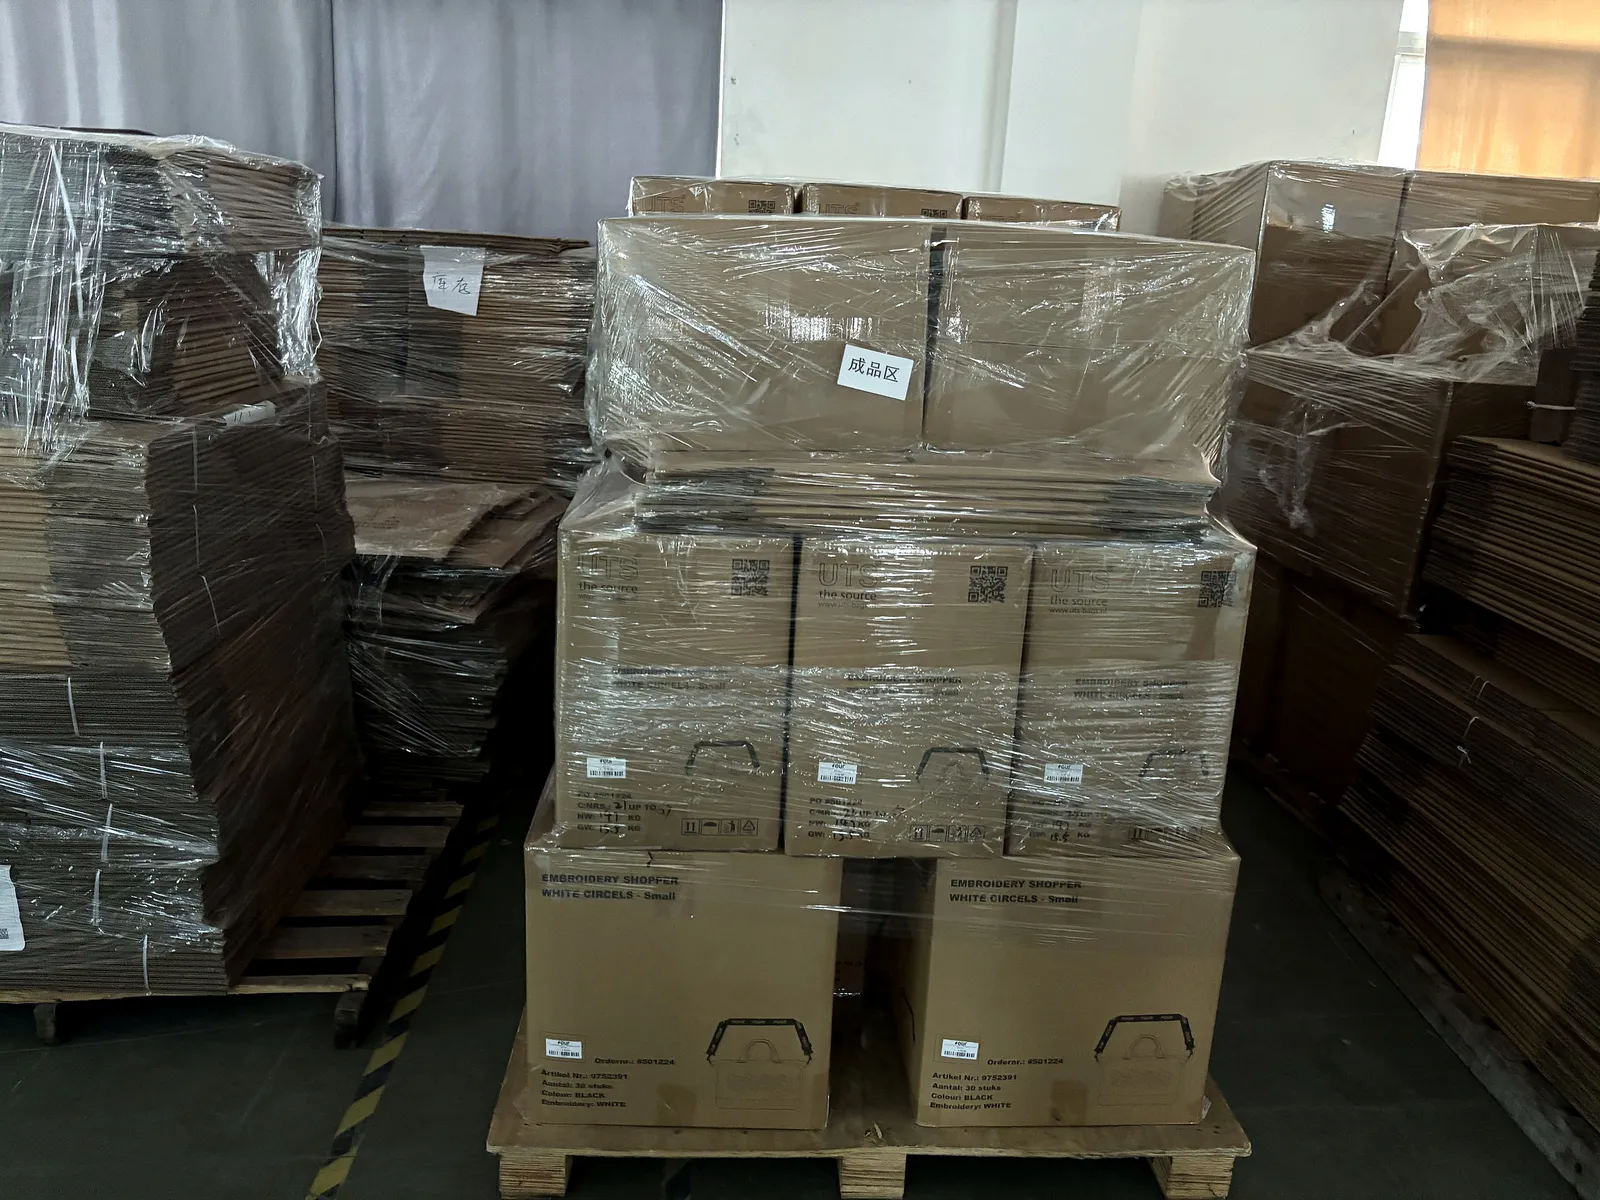
Packing protects the approved product and communicates order identity. Define:
- folding or shape-retention method;
- straps, hardware and zipper positions;
- inserts, tissue, bags or other unit materials;
- warning, barcode, SKU and destination labels;
- units per inner pack or carton;
- colour and size assortment;
- carton construction, dimensions and markings;
- gross/net weight and count controls where required;
- pallet or loading direction if applicable;
- document and shipment-release requirements.
Change control during production
If an approved material or component becomes unavailable, pause the affected decision and record:
- original controlled item;
- reason for the proposed change;
- replacement identity and differences;
- affected function, appearance, evidence and timing;
- comparison sample or documents;
- buyer approval or rejection;
- updated BOM, sample and production instructions;
- handling of work already completed.
An apparently similar zipper, coating, foam or buckle can change fit, colour, sewing and performance.
What determines MOQ, cost and timing?
There is no single manufacturing answer because project conditions differ. Important variables include:
- material and component minimums;
- custom colour, printing, tooling or moulding;
- number of variants and quantity split;
- construction complexity and operation sequence;
- sampling and approval rounds;
- testing and documentation;
- packaging and labels;
- production loading and material availability;
- shipment terms and destination.
Review the custom bag MOQ and cost guide and request a dated quotation against one frozen specification.
RFQ checklist for custom bag manufacturing
Send Benshine:
- intended use, user, contents and representative load;
- finished dimensions and measurement method;
- annotated exterior and interior views;
- materials, layers, colours and hand directions;
- pockets, openings, carrying and component requirements;
- logo artwork, method, placement and authorization;
- labels, target market and document requirements;
- required tests and acceptance criteria;
- estimated quantity by colour and variant;
- packaging, destination and delivery terms;
- existing sample, pattern or component references;
- desired approval process and decision contacts.
Benshine can review this package and identify open technical and commercial questions. Feasibility, materials, component availability, pattern or tooling ownership, performance, compliance, MOQ, price, sample timing, production timing and shipment timing require written confirmation for the approved project.
Continue your manufacturing research
- Compare OEM, ODM, private-label and contract manufacturing
- Use the bag anatomy and terminology glossary
- Understand patterns, gussets and pocket construction
- Choose structure from intended use
- Review Benshine factory evidence
- Review Benshine quality-control planning
- Send Benshine a controlled custom-bag RFQ
Quick answers
What are the main steps in custom bag manufacturing?
A controlled project normally moves through requirements and feasibility, specification, pattern and bill of materials, component and artwork preparation, sampling and approval, material preparation and cutting, decoration, subassembly and sewing, inspection, packing and shipment release. The exact route depends on the product and order.
Does custom bag production begin with cutting?
No. Cutting should follow an approved specification, pattern revision, bill of materials, colour and artwork controls, and the agreed sample or reference record. Cutting too early can multiply unresolved design changes across bulk material.
Why is an approval sample important?
It gives the buyer and manufacturer a shared physical reference for dimensions, materials, colours, function, construction, workmanship and approved revisions. It does not replace drawings, test requirements or the bill of materials.
When is a logo added to a custom bag?
Many printing, transfer or embroidery operations are completed on flat panels before final assembly, but the correct sequence depends on the method, substrate, placement, seam access and construction. Approve artwork and a representative trial before production.
How is quality controlled during bag production?
An order-specific plan can include incoming material checks, first-piece or pre-production review, in-line checks at critical operations, finished-product inspection, functional checks, project-specific testing and packing verification. Sampling and acceptance criteria must be agreed for the order.
How long does custom bag manufacturing take?
There is no universal lead time. Timing depends on specification completeness, sampling rounds, material and component availability, artwork, tooling, testing, quantity, production loading, packaging and shipment terms. Confirm a dated schedule for the approved project.