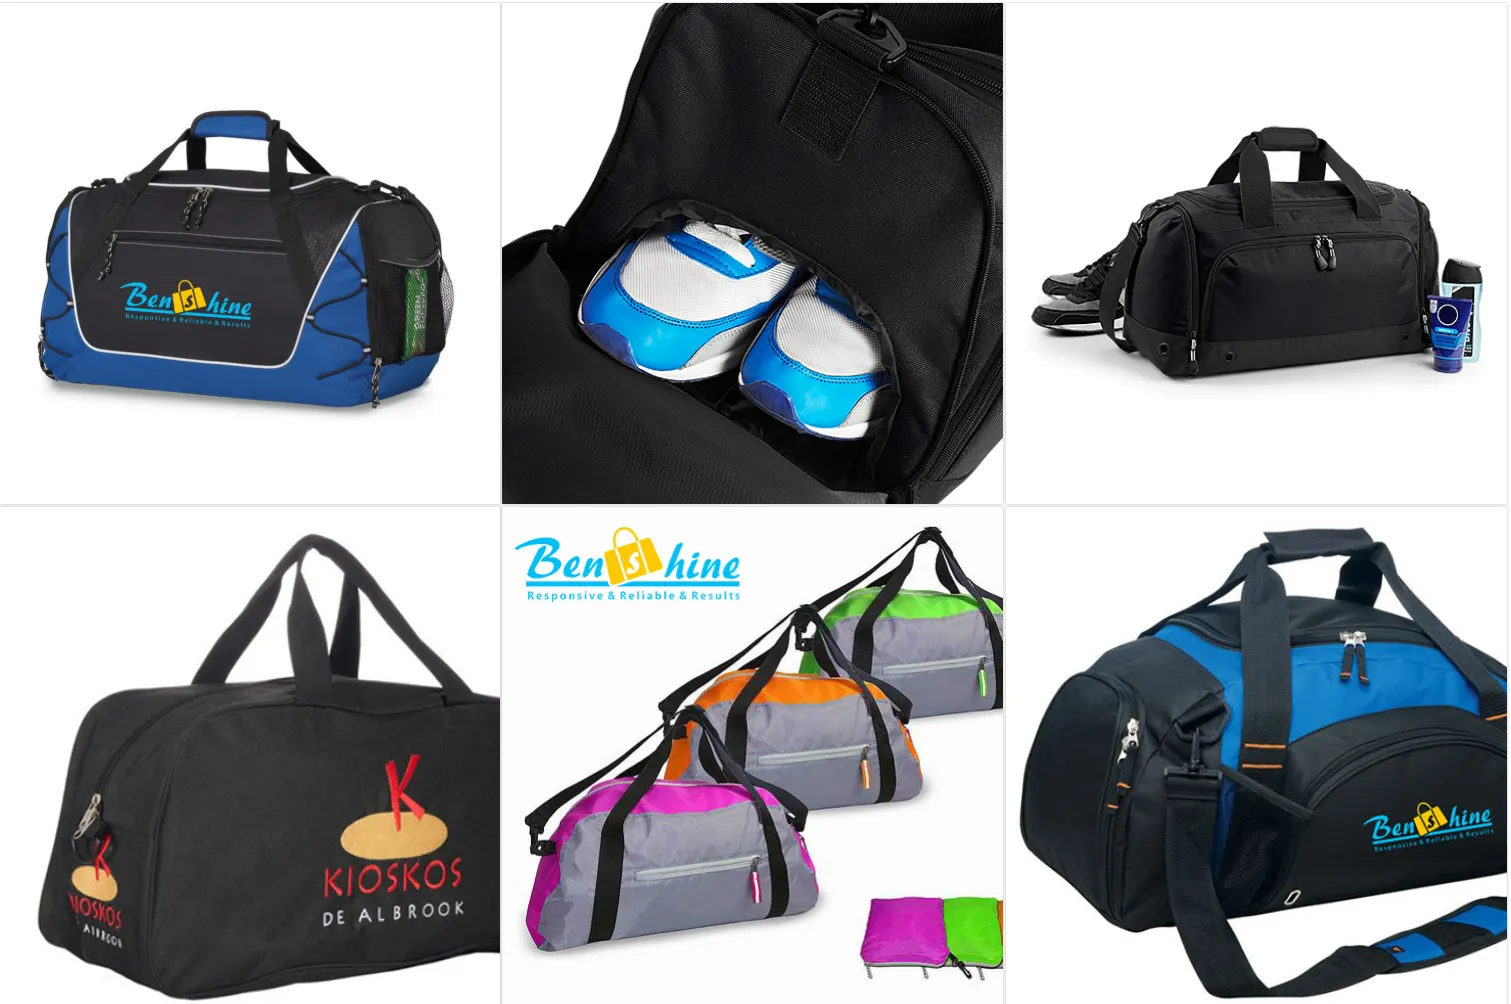
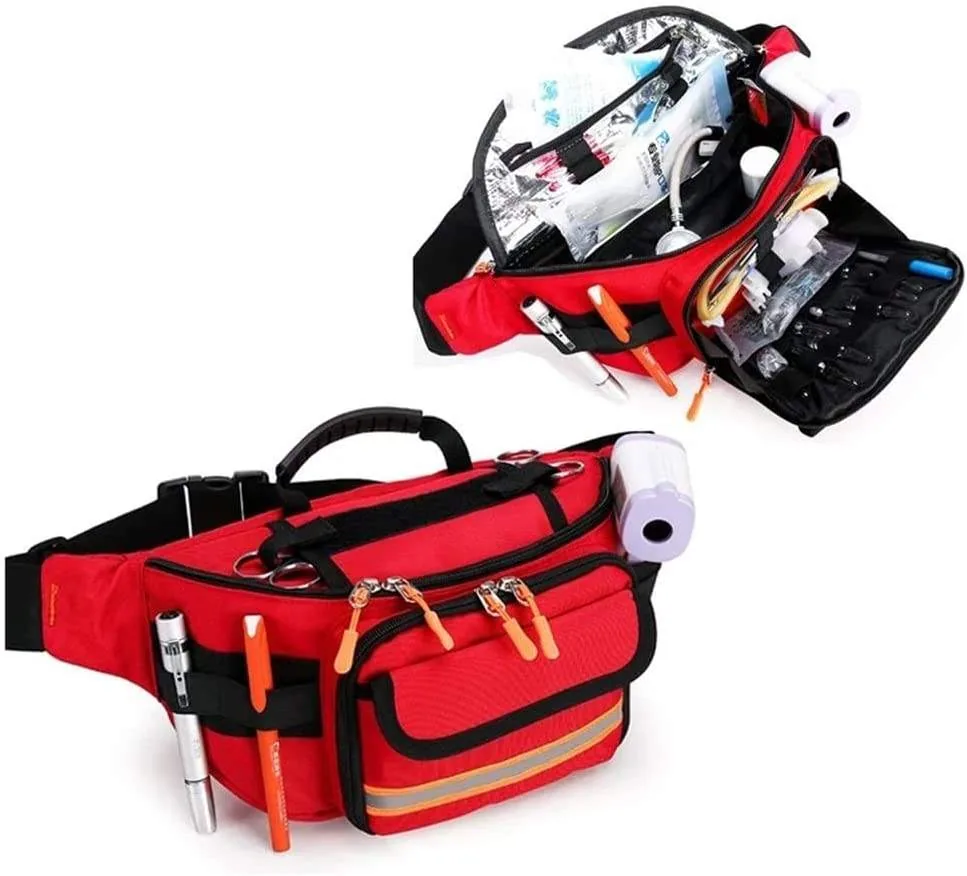
Choosing bag structure means deciding how the product should hold shape, organize contents, open, carry and respond to its use environment. The answer can range from a flexible foldable body to targeted foam and dividers or a more supported multi-layer construction.
Direct answer: Begin with the user, exact contents, representative load, access sequence, carrying method, environment and care. Choose only the structure needed at each zone: shell geometry, lining, foam, board, dividers, reinforcement and hardware should solve named problems. Then build and load a representative sample. A rigid-looking bag, thicker foam or more pockets does not automatically provide better fit, protection, comfort or durability.
Use a function-first decision sequence
| Decision | Define before choosing construction | Output for the brief |
|---|---|---|
| Contents | Item names, dimensions, weight, fragility and orientation | Item map and representative load set |
| Access | Frequency, sequence, available space and one/two-hand use | Opening and compartment architecture |
| Carry | Duration, movement, body or mounting interface | Handle, strap, anchor and adjustment direction |
| Protection | Realistic hazards and acceptable outcomes | Coverage zones, padding/support direction and tests |
| Shape | Empty and loaded silhouette, standing or folding needs | Soft, semi-structured or supported zones |
| Environment | Abrasion, rain, dirt, spills, temperature and contact | Material, seam, closure and evidence requirements |
| Care | Cleaning method, drying, replacement or removable parts | Layer and component compatibility plus care validation |
| Market | User group, destination and applicable requirements | Documentation, labelling and project evidence plan |
Material selection becomes more meaningful after these decisions are controlled.
Build a contents inventory
List every important item rather than relying only on a category such as “tools,” “travel gear” or “medical supplies.” For each item, record:
- width, height, depth or diameter;
- weight and representative total load;
- rigid, flexible, sharp, fragile or compressible character;
- preferred orientation;
- access frequency and sequence;
- whether it must be retained, separated or visible;
- clearance needed for insertion and removal;
- whether it can contact other items;
- cleaning, leakage or contamination concerns;
- whether future variants change its dimensions.
Use physical items or controlled mock-ups during sample review. Nominal device or container dimensions can omit protrusions, cables, caps, cases and handling clearance.
External dimensions, capacity and usable space
External width × height × depth gives only a rough geometric envelope. It does not automatically equal internal or usable capacity because space can be consumed or reshaped by:
- tapered, curved or folded panels;
- seam allowances and corner radii;
- lining and suspended pocket bags;
- foam, board and insulation;
- sleeves, dividers and internal webbing;
- pockets projecting into the main compartment;
- zipper opening geometry;
- the rigidity and orientation of contents.
If a volume claim matters, agree on a method. For actual product development, an item-fit review is often more useful than a nominal litre figure.
Plan the access architecture
The opening should match where, how and how often contents are used.
| Access direction | Potential use direction | Questions to validate |
|---|---|---|
| Top opening | General packing and vertical retrieval | Can wide or rigid items clear the opening? |
| U-shaped opening | Wider overview of a main compartment | Does the flap remain open and do corners operate smoothly? |
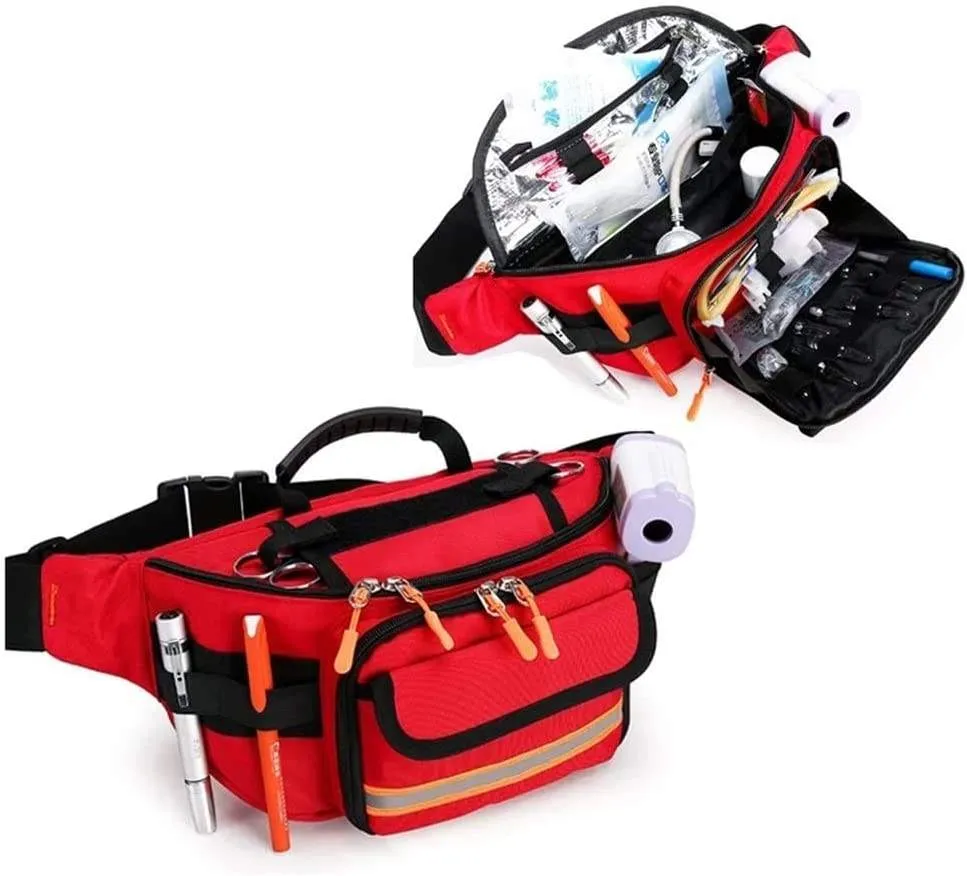
| Clamshell opening | Full lay-open packing or organized kits | Is there space to open it and are contents retained? |
| Front access | Reaching selected contents without unloading everything | Does the opening weaken or obstruct the main body? |
| Multiple compartments | Separating workflows or item groups | Does added construction consume space or confuse access? |
| Roll or folded opening | Variable height or exposure-control direction | Is closure sequence practical for repeated access? |
Clear opening, slider travel and item-removal path matter more than the nominal zipper length alone.
Soft, semi-structured and supported directions
| Structure direction | Typical behaviour | Development trade-offs |
|---|---|---|
| Soft/flexible | Folds or conforms and may collapse when empty | Lower bulk direction but less self-support and item separation |
| Semi-structured | Retains selected silhouette while remaining flexible | Targeted support can balance shape, weight and packability |
| Supported/rigid direction | Uses board, stiffeners, moulded or firm layers | Stronger shape direction but more weight, bulk and corner complexity |
| Zone-structured | Supports only base, back, lid, dividers or anchors | Material placed where useful, but transitions need careful design |
These are design directions, not quality grades. A soft packing cube and a supported equipment case solve different problems.
Give every layer a job
A bag structure can combine:
- shell: exterior appearance and first contact with use conditions;
- lining: internal surface and seam-covering direction;
- foam: spacing, cushioning or shape direction;
- board or stiffener: firmer support for bases, backs or panels;
- interlining: an intermediate support layer;
- reinforcement: localized load spreading at anchors and wear zones;
- divider: separates item groups and may add structure;
- binding or piping: controls an edge, seam finish or silhouette;
- webbing frame: creates straps, anchors or external load paths;
- hardware: closes, adjusts, mounts or connects parts.
Do not add a layer without defining its coverage, edge treatment and intended outcome. Hidden materials still affect weight, sewing bulk, turning, drying and recyclability or composition claims.
Padding and protection should be hazard-led
“Padded” is not a complete protection requirement. Define the realistic hazard:
- repeated contact or rubbing;
- compression inside other luggage;
- low-height handling impact;
- sharp or hard contents contacting the body;
- separation between items;
- base contact with a surface;
- thermal direction for an insulated build;
- vibration or movement during an intended mounting scenario.
Then define where protection is needed, acceptable movement, foam or spacer direction, item clearance and a representative validation method.
More padding can reduce internal space, make corners bulky, restrict a zipper opening and add carried weight. Gaps, bottoming-out, item movement and weak seams can still dominate the result.
Design compartments around workflow
Organization should shorten a real task, not simply increase the pocket count.
- Group contents by when and where they are used.
- Put frequent-use items on the shortest access path.
- Separate items only when there is a functional reason.
- Size openings for hands, gloves or the item’s largest profile as needed.
- Define retention so contents do not escape during carry or opening.
- Consider how a pocket changes when adjacent compartments are full.
- Label or colour-code only when it supports the user workflow.
- Test removal and replacement in the real orientation.
A flat drawing cannot show every interference. Validate the fully loaded layout.
Fixed, adjustable and removable organization
- Fixed pockets and dividers can improve repeatability but commit the interior to one item map.
- Adjustable dividers can support variants but add mating surfaces, bulk and user setup.
- Removable modules may support replenishment or cleaning but need attachment, identification and retention controls.
- Elastic loops can retain items within a size range but require recovery and fit validation.
- Transparent or mesh sections can improve visibility but add edge, snag, cleaning and material questions.
Choose by workflow and variant strategy. Modularity is not automatically better if the user never reconfigures the bag.
Carrying system and body interaction
Define how the bag moves from storage to carrying and use:
- short hand carry;
- single-shoulder carry;
- backpack carry;
- waist or crossbody carry;
- trolley, bicycle or equipment mounting;
- transfer between several modes.
Consider representative load, duration, movement, clothing, adjustment range, strap width, padding, hardware position and where the bag contacts the user. Comfort and fit are person- and load-dependent; validate with representative users or defined review criteria.
Map the load path
The load path connects contents to the carrying interface. It may pass through the base, shell, seams, reinforcement, webbing anchors, hardware and straps.
Review:
- whether heavy items are supported by the base or suspended pockets;
- handle and shoulder-strap anchor coverage;
- lower backpack strap attachment geometry;
- how a removable strap connects to rings and body reinforcement;
- whether partitions transfer unintended load;
- whether a soft body deforms and changes the carry angle;
- how seams and hardware are loaded when the bag is lifted off-axis.
A wide strap or strong buckle cannot correct an underspecified body anchor.
Base, standing and shape recovery
If a bag must stand, specify the condition: empty, lightly loaded or with the representative contents. Standing behaviour depends on:
- base dimensions and geometry;
- centre of gravity and item placement;
- base board, feet or support layers;
- side-panel stiffness;
- opening position and lid weight;
- pocket loading;
- material recovery after folding or transport.
“Self-standing” should have a defined setup and acceptance method. A bag that stands in a studio photo may tip during real loading.
Environment changes the structure decision
Describe expected exposure rather than selecting a marketing label:
- contact with floors, walls or vehicle surfaces;
- light rain, splash, water pressure or submersion;
- dust, sand, dirt or oil;
- cold, heat or repeated temperature cycling;
- sunlight or outdoor storage;
- cleaning chemicals, disinfectants or detergents;
- sweat or skin contact;
- sharp edges and abrasive contents.
Different zones can require different solutions. A durable base direction does not mean the full bag should use the same heavy material.
Water protection is a complete-build question
Water exposure depends on face materials, coatings, seams, needle holes, zippers, openings, hardware attachment and product orientation. A supported bag with thick layers is not automatically water resistant, and a “waterproof fabric” does not make the assembled product waterproof.
Define exposure, method, duration and acceptance criteria. Review the water-resistance terminology guide before writing a product claim.
Care, cleaning and drying
Support materials can restrict cleaning and drying. Consider:
- whether foam or board absorbs or traps moisture;
- whether inserts can be removed;
- whether coatings, adhesives, prints and hardware tolerate the proposed method;
- whether deep compartments are accessible for cleaning;
- whether dividers or modules need separate care;
- how the product drains, opens and dries;
- whether care instructions are validated on the exact build.
Medical, food-contact, hygiene or contamination-control suitability cannot be inferred from wipe-clean appearance. Those claims require the applicable design, documentation and evidence.
Weight and complexity trade-offs
Every added pocket, zipper, layer, board, buckle and reinforcement can add:
- finished weight;
- material and assembly operations;
- seam bulk and potential failure interfaces;
- inspection points;
- cleaning difficulty;
- replacement or sourcing dependencies;
- cost and production constraints.
Remove features that do not support a named task. A simpler structure can be more effective when it improves access and reduces unnecessary mass.
Compare structure by use case
| Use direction | Structure questions | Evidence boundary |
|---|---|---|
| Everyday backpack | Device fit, carry duration, pocket access, base and strap anchors | Comfort, fit, load and durability are product-specific |
| Tool or equipment bag | Item map, hard edges, base support, handle load and access | Puncture, cut, load and protection require testing |
| Travel organizer | Packing sequence, suitcase fit, compression and visibility | Capacity, compression and luggage fit require controlled review |
| Cooler or delivery bag | Insulation layers, closure, cleaning, payload and orientation | Temperature duration and food suitability require system evidence |
| Medical or first-aid organizer | Workflow, identification, separation, cleaning and payload | Clinical, regulated and kit-completeness claims require evidence |
| Promotional tote | Carry task, print area, foldability, handle and expected load | Load, reuse and environmental claims require project evidence |
Browse Benshine product categories for construction references, not automatic proof that one existing design suits a new brief.
Measure the finished sample
Soft and supported bags can change shape during measurement. Define whether the sample is empty, filled, flattened, suspended or supported and identify fixed reference points.
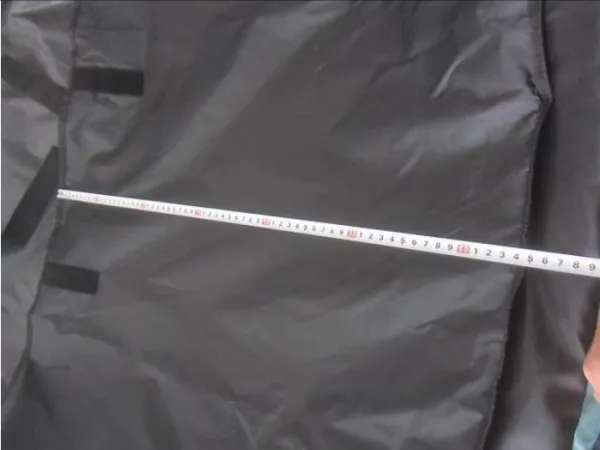
Do not assume that matching external dimensions proves item fit. Test the opening, interior clearances and loaded shape.
Representative-use sample workflow
- Freeze the intended user, exact contents and representative load.
- Rank access, protection, carrying, weight, cleaning and cost priorities.
- Choose soft, semi-structured or supported directions by zone.
- Map openings, pockets, dividers and item-removal paths.
- Define shell, lining, foam, board, reinforcement and component layers.
- Build a prototype in representative materials.
- Measure it using controlled reference points and sample condition.
- Load every item and follow the real access sequence.
- Carry or mount it under the agreed scenario.
- Review shape, stability, interference, anchors and care implications.
- Complete agreed project-specific tests and revise the specification.
- Freeze the approved sample, bill of materials and revision.
Change one assumption at a time and record affected panels, layers and components.
RFQ checklist for an intended-use bag
Send Benshine:
- user, task and environment;
- item list with dimensions, weights and representative total load;
- access frequency and sequence;
- preferred external dimensions and critical fit limits;
- soft, semi-structured or supported direction by zone;
- pocket, divider and module requirements;
- carrying modes, duration and adjustment range;
- protection hazards and acceptable outcomes;
- material, colour, branding and hardware directions;
- cleaning, drying, water and other exposure requirements;
- target market, documents, tests and acceptance criteria;
- quantity by colour and variant, packaging and destination;
- marked references showing desired and undesired features.
Benshine can review this brief against existing construction references and a controlled sample process. Feasibility, fit, capacity, comfort, protection, material performance, compliance, MOQ, price, sample timing and production timing require project-specific confirmation.
Continue your product-development research
- Use the bag anatomy and terminology glossary
- Understand bag patterns, gussets and pocket construction
- Compare bag stitch types and seam construction
- Specify zippers, buckles, webbing and hardware
- See how custom bags are made
- Review Benshine quality-control planning
- Send Benshine an intended-use product brief
Quick answers
What information should define a bag's intended use?
Describe the user, exact contents and dimensions, representative loaded weight, access frequency and sequence, carrying duration, movement, environment, cleaning needs, target market and the consequences if an item shifts, becomes difficult to reach or receives insufficient protection.
Should a buyer begin with material or function?
Function is usually the stronger starting point. Once contents, access, carry, protection, environment and care are understood, material and layer choices can be compared against those needs.
What is the difference between a soft and structured bag?
A soft bag relies mainly on flexible materials and may collapse when empty. A structured bag uses geometry, foam, board, stiffeners, reinforcement or moulded parts to retain selected shape. Many products are semi-structured and support only specific zones.
Does more padding always protect contents better?
No. Protection depends on padding material, thickness, coverage, compression, gaps, item fit, divider geometry, base support and the expected hazard. Extra padding can add weight and bulk or reduce access without addressing the real risk.
How should bag compartment design be planned?
Map every item by dimensions, orientation, access frequency, contamination or separation needs and retention. Then define clear openings, pocket or divider geometry, identification, removal path and how the layout behaves when the bag is carried and loaded.
How do you validate a custom bag structure?
Build a representative sample in the selected materials, load it with controlled items, follow real access and carrying scenarios, measure the finished product and complete agreed project-specific checks. Record the approved sample and specification revision.